
Email, SMS and marketing
Create extra landing pages for your event
Festival and club promoters running ads to different crowds, or giving a sponsor a page of its own, want each audience to land on an event page that speaks to them. An alternative view is an extra page for the same event at its own address, and every ticket it sells comes out of the same event.
Give one event extra pages at their own addresses, each with its own name, dates, venue, images, description or ticket types, so every ad campaign, sponsor or audience lands on a page made for them while every ticket sold is a ticket for the same event.
- For
- Giving different audiences their own page for one event
- Takes
- 8 minutes
- Open Alternative Views on the Details page
- When to use an extra page
- Select Create Alternative View
- Enter what the page is for
- Enter the page's address
- Give the page its own name
- Give the page its own dates
- Change the venue, images or description
- Add the tickets this page sells
- Keep a ticket type on the main page too
- Select Create View
- Open the page and check it
- Copy the page's address
Before you start
- You have an owner or administrator role on the event.
- Any ticket type only the new page should sell is already set up on the Tickets page.
-
Open Alternative Views on the Details page
Play from hereOpen your event, select Edit, then Details, and scroll to Alternative Views.
Note: Until you create a page, the section holds only the Create Alternative View button.
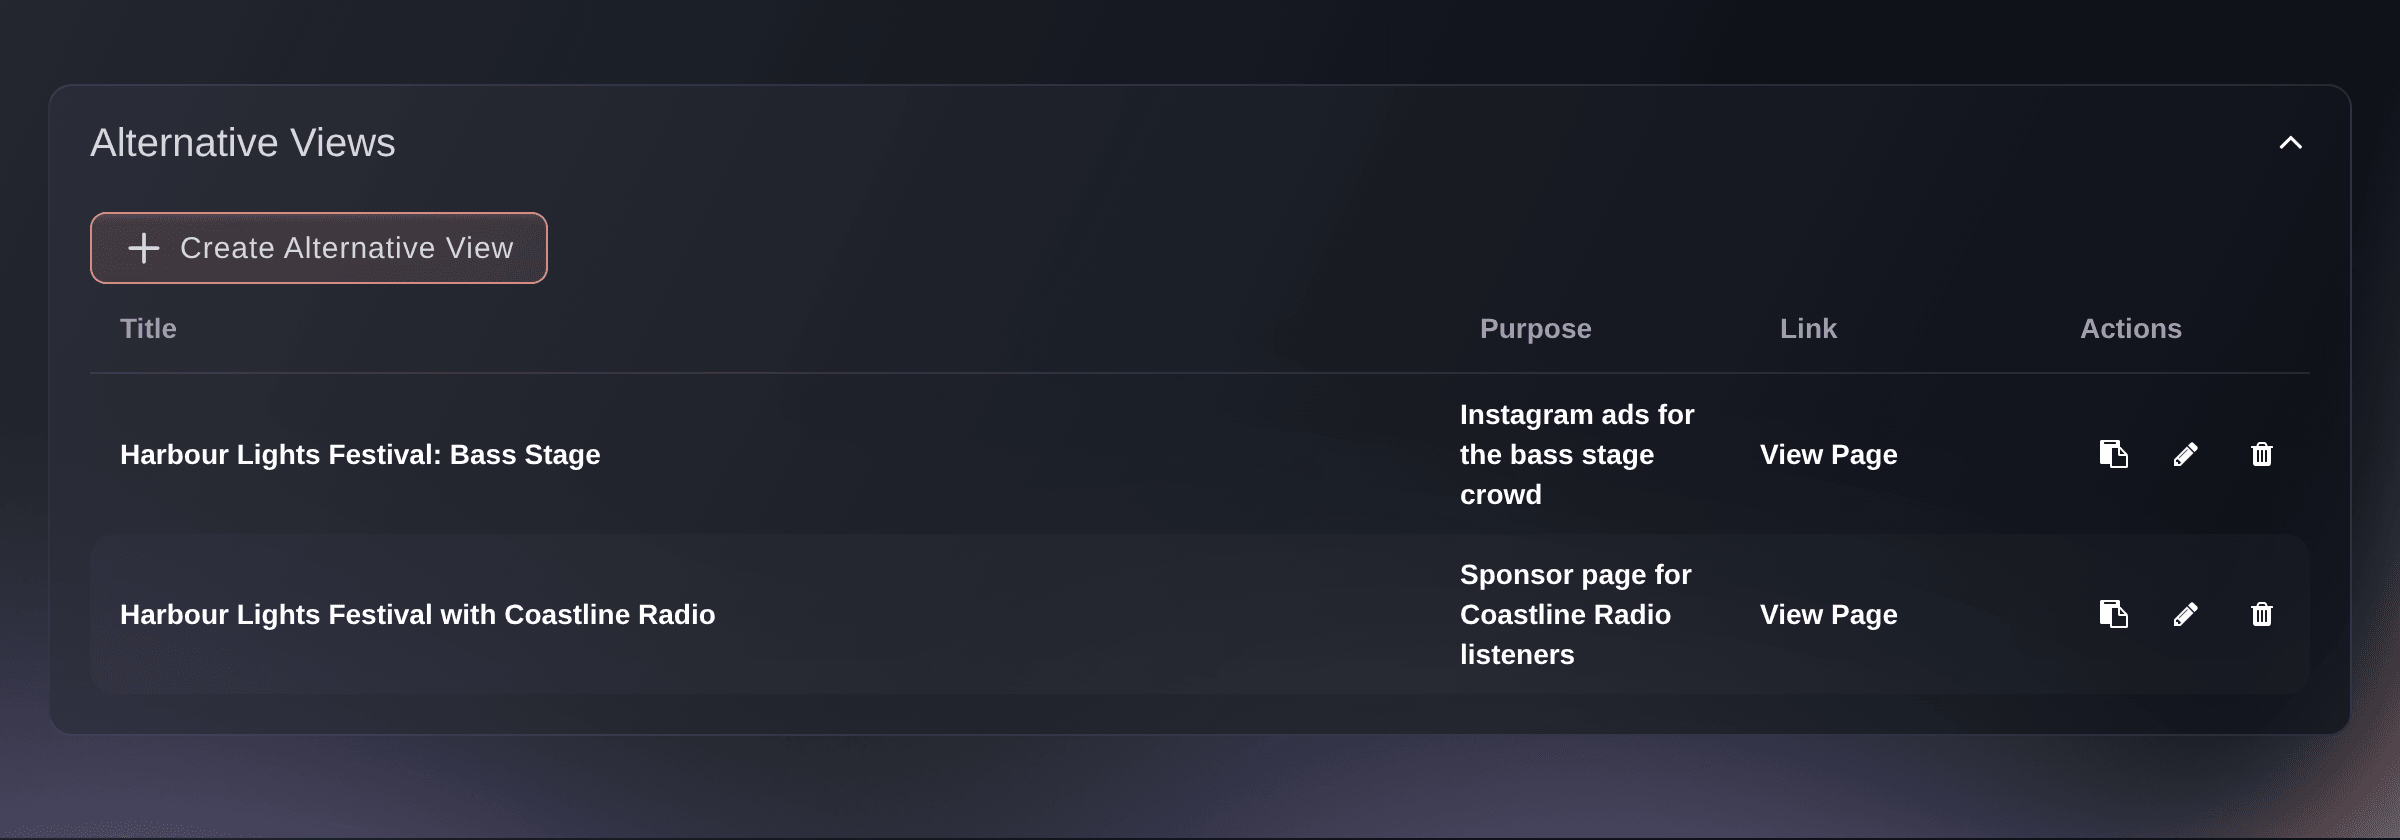
Edit, Details, Alternative Views.
When to use an extra page
Play from hereAn extra page suits a different audience for the same night: a stage or genre, a sponsor's listeners, an artist's fans or one ad campaign. It changes what the page shows and which tickets it offers, while every order stays an order for this event, from the same ticket types and the same capacity. A night with its own capacity, door list or payout is a separate event instead.
-
Select Create Alternative View
Play from hereSelect Create Alternative View. The Create New Alternative View dialog opens.
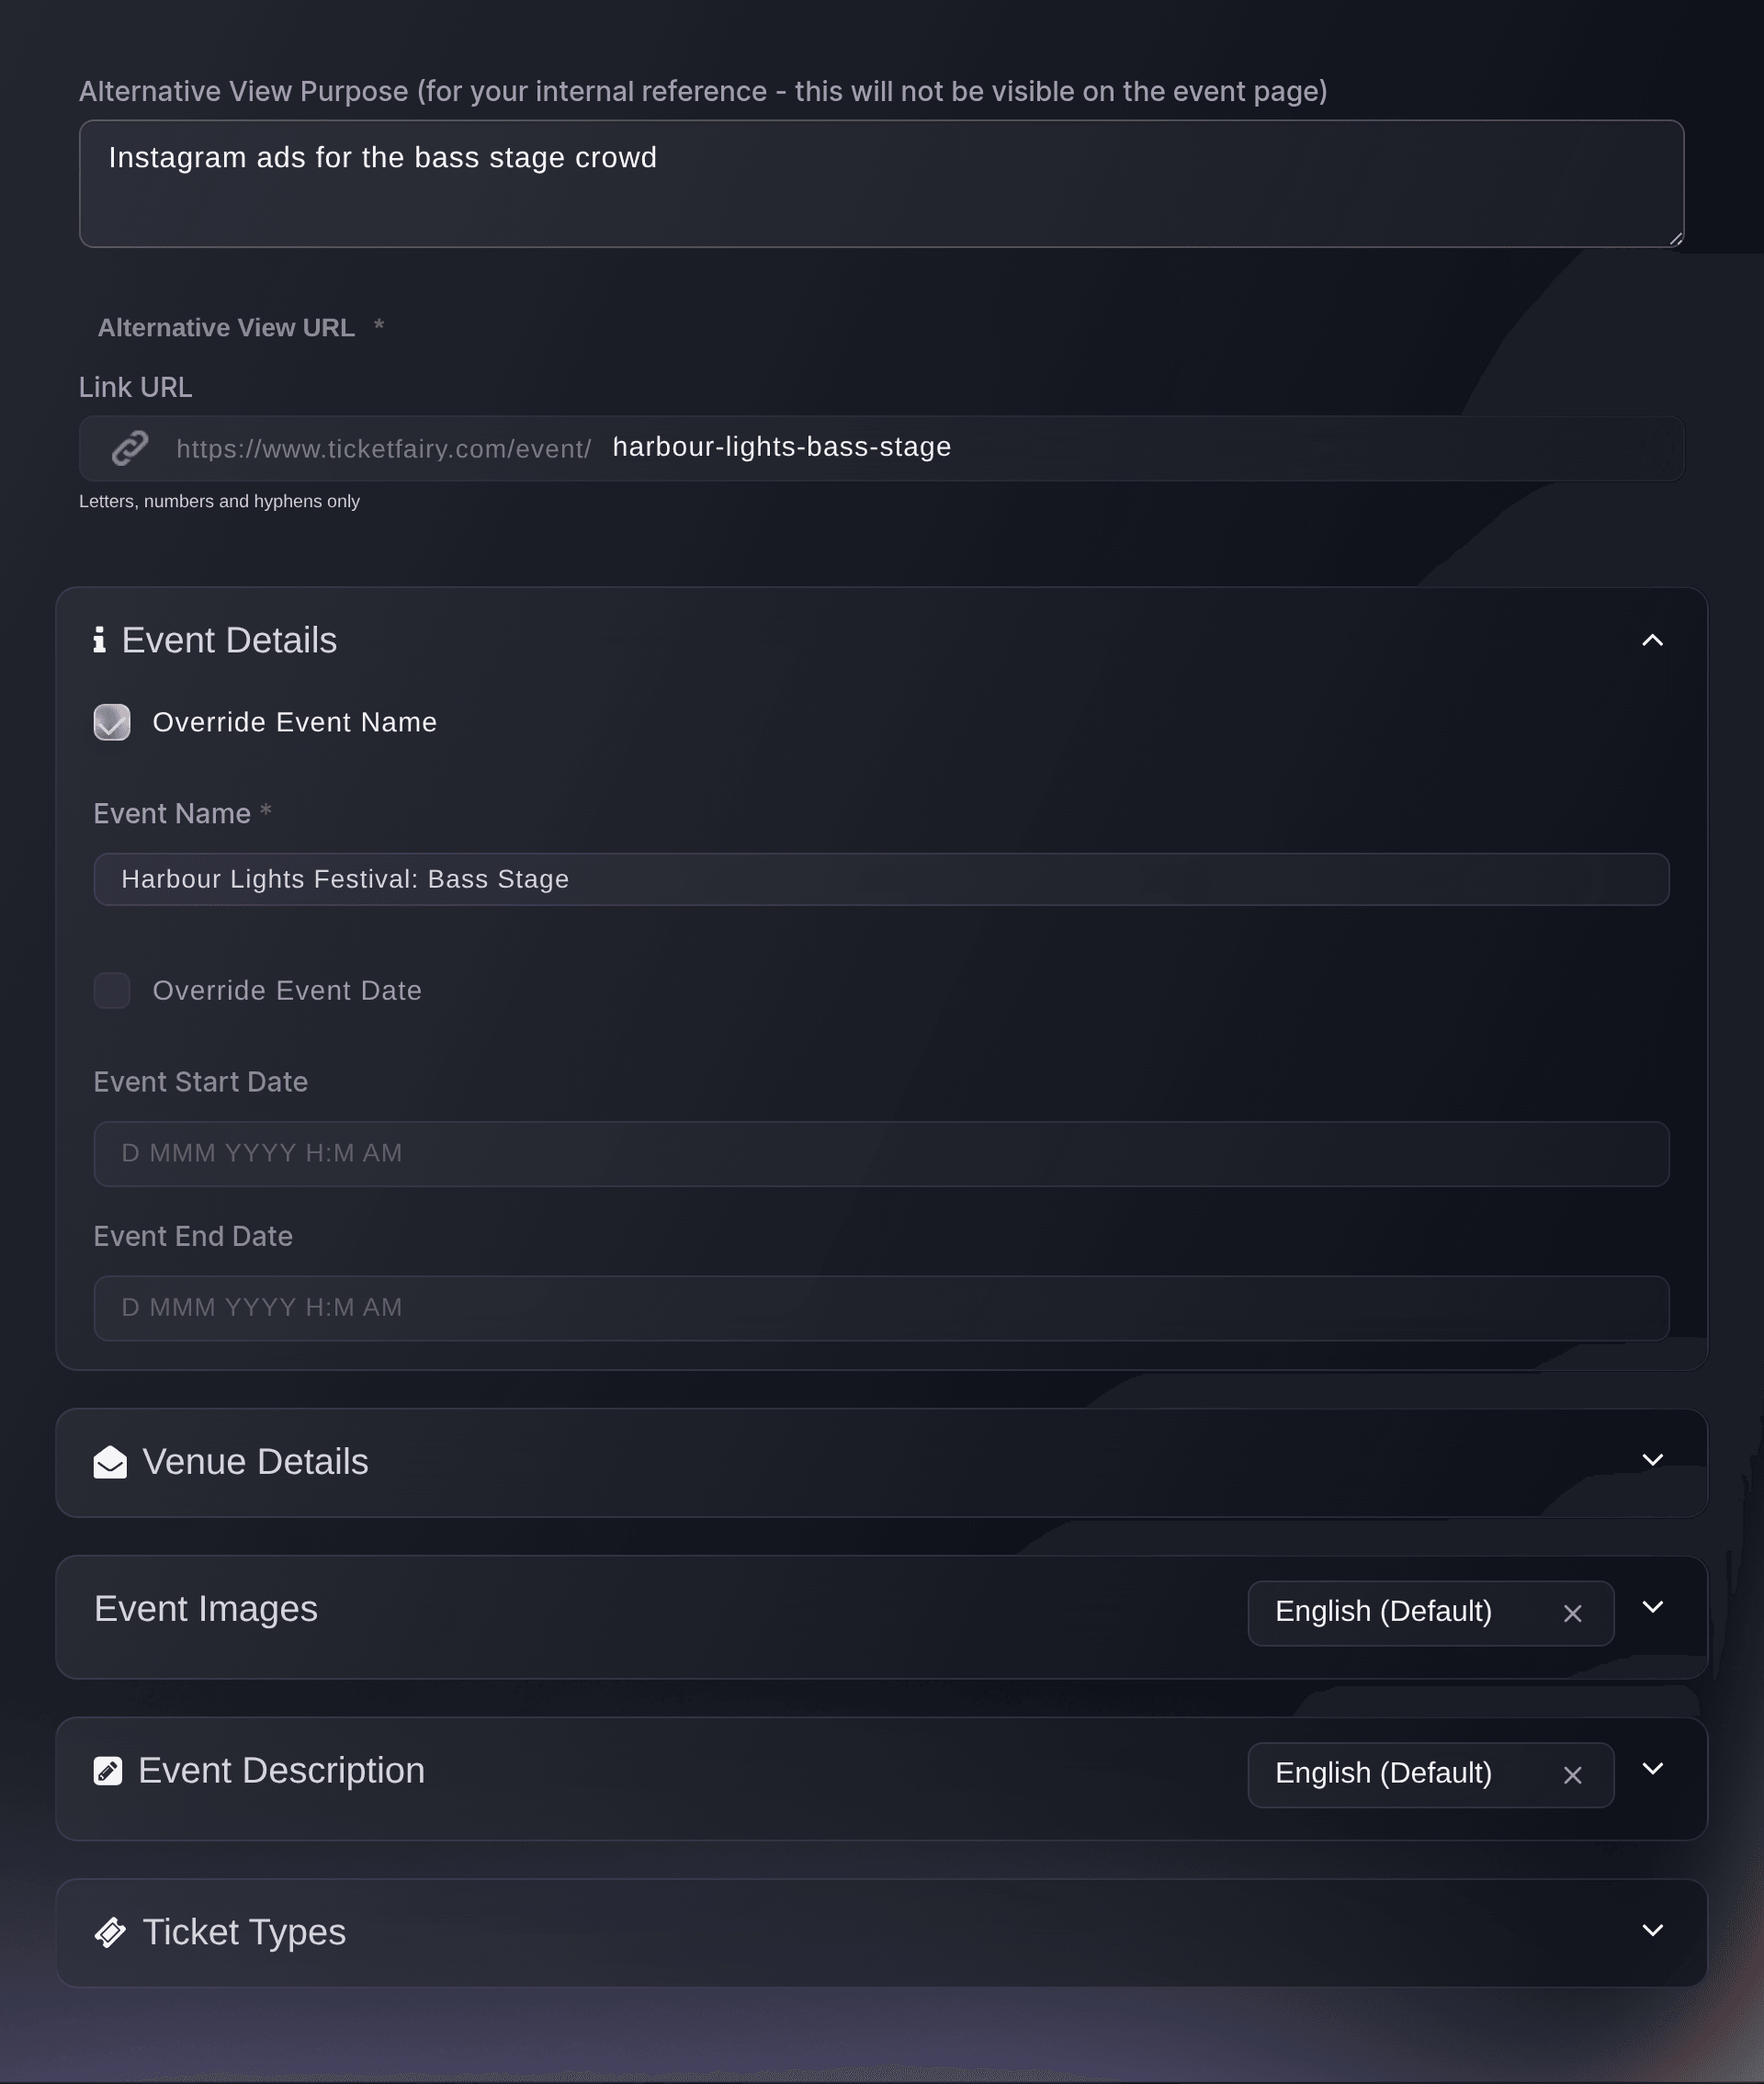
Edit, Details, Create New Alternative View. -
Enter what the page is for
Play from hereOptional: Enter the campaign or sponsor the page is for under Alternative View Purpose (for your internal reference - this will not be visible on the event page).
Note: Your team sees it in the Purpose column of the Alternative Views section. Buyers never see it.
-
Enter the page's address
Play from hereEnter the last part of the page's address under Alternative View URL.
Note: Use letters, numbers and hyphens. If another event or page already has that address, the field shows
URL already exists
when you save. -
Give the page its own name
Play from hereOptional: Select Override Event Name, then enter the name this page shows in Event Name.
Note: The name can run to 65 characters. Anything you don't override shows what your main event page shows.
-
Give the page its own dates
Play from hereOptional: Select Override Event Date, then choose the Event Start Date and Event End Date this page shows.
-
Change the venue, images or description
Play from hereOptional: Select the heading of each section this page should show differently, then select that section's override.
Note: The images and description sections each have a language selector, so the page can carry a flyer and a description in each of your event's languages.
-
Add the tickets this page sells
Play from hereOptional: Select the Ticket Types heading, choose a ticket type from the list, then select Add.
Note: Once you add a ticket type, this page offers only the ticket types you add. A page with none added offers every ticket type on the event, including ones another page keeps off your main event page, so add the tickets each page should sell.
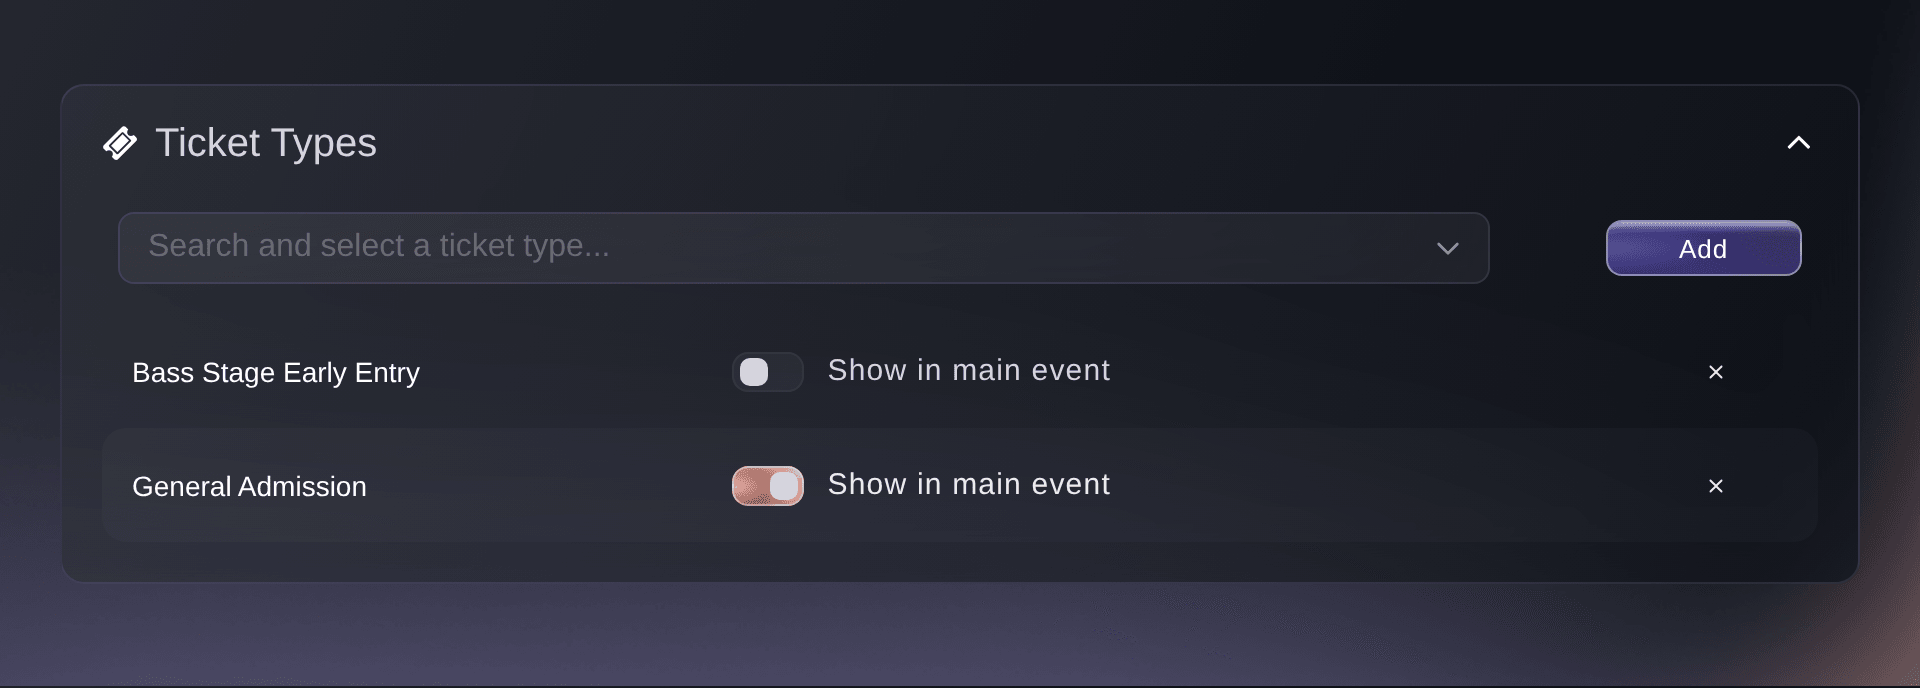
Edit, Details, Create New Alternative View, Ticket Types. -
Keep a ticket type on the main page too
Play from hereTurn on Show in main event beside each ticket type your main event page should keep offering.
Warning: A ticket type added to an extra page with Show in main event off disappears from your main event page. From then on, it sells only on extra pages: the ones that list it, and any with no ticket types added.
-
Select Create View
Play from hereSelect Create View. Ticket Fairy shows
Successfully created
and the page joins the list under Alternative Views. -
Open the page and check it
Play from hereSelect View Page on the new row and check the name, images and tickets the page shows.
Note: Before your event is published, the row offers Preview Page instead, which opens a preview of the page.
-
Copy the page's address
Play from hereSelect the copy icon on the row, labelled Copy Alternative View URL when you point at it, then paste the address into your ad, email or sponsor post.
Tip: The copied address is the page's public address, so share it once your event is published.


Try these steps on your own event
Create a free account, build your event and follow the steps above in your own dashboard. It takes a few minutes and you do not need to book a sales call.
No setup fees. No required monthly ticketing fee. No credit card required.
Or have it done for you
Fai, the assistant inside your dashboard, can list an event's extra pages and create one with its own address, name, dates, description and ticket types, including whether each ticket type stays on the main event page. She asks you to approve each page before she creates it. To upload a flyer or background image from your computer, use the dashboard.
In your dashboard, with Fai
Create an extra landing page for <EVENT NAME> at the address <PAGE ADDRESS>, named <PAGE NAME>, for <AUDIENCE OR CAMPAIGN>. Offer only the <TICKET TYPE> ticket type on it and keep that ticket type on the main event page too. Show me the details before you create it
Let Fai do it for you
Fai works inside your Ticket Fairy dashboard. Create your account, open Fai and paste the prompt above.
No setup fees. No required monthly ticketing fee. No credit card required.
Change an extra page
Play from hereSelect the pencil icon on the page's row, change what you need in Edit Alternative View, then select Save.
Note: Changing the address moves the page, so update any ad or post that uses the old one.
Fai can change an extra page after you approve the change. An update replaces the page's settings with the ones she sends, so the prompt asks her to keep everything else on the page as it is.
In your dashboard, with Fai
On <EVENT NAME>, change the <PAGE NAME> extra page so that <CHANGE>. Keep everything else on the page as it is and show me the change before you save it
Delete an extra page
Play from hereSelect the bin icon on the page's row, then select Delete in Delete Alternative View.
Warning: The page's address stops working at once. Tickets already sold through it stay valid, and ticket types only that page sold go back on your main event page.
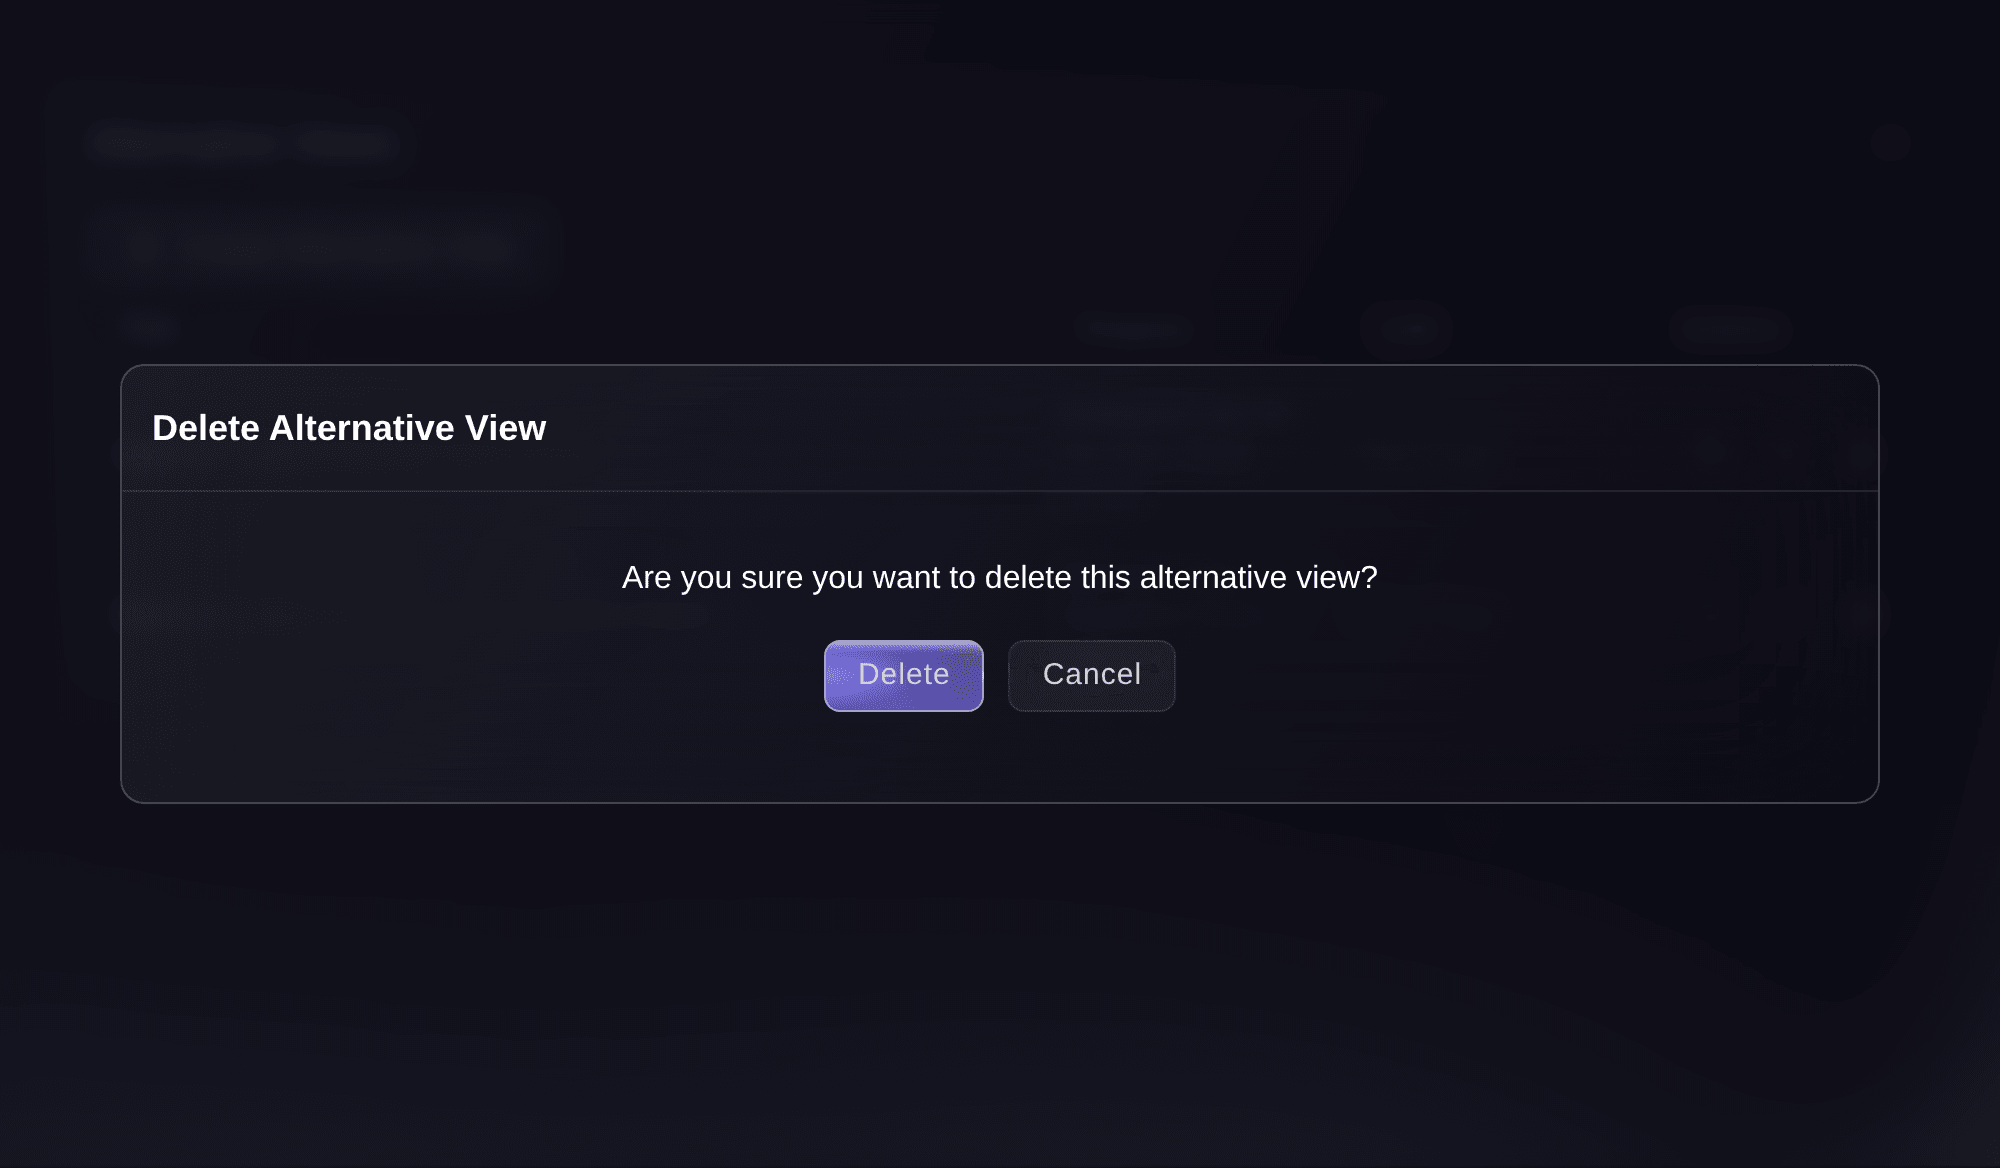
Fai can delete an extra page once you approve it.
In your dashboard, with Fai
Delete the <PAGE NAME> extra page from <EVENT NAME>. Show me which page it is before you delete it
Questions you might have
- Do tickets sold on an extra page count towards my event?
- Yes. An extra page sells your event's own ticket types, so every ticket comes out of the same capacity and appears in your event's orders and reports.
- How do I see which page sold the tickets?
- Open Performance and select the Alternative Views tab, which appears once the event has an extra page. It shows the tickets each page sold and their revenue, with Main Event for tickets bought on your main event page.
- Why has a ticket type gone from my main event page?
- An extra page lists that ticket type with Show in main event off. Open that page with its pencil icon and turn Show in main event on, or remove the ticket type from the page.
- Can I test an extra page against my main event page?
- Yes. An A/B test can show an extra page to a share of the visitors who open your main event page and compare the ticket sales from each version.
- Can two events use the same page address?
- No. Every event and every extra page needs an address of its own, and the form shows
URL already exists
when you choose one that is taken.
Still have a question?
Book a demo and we will answer it on a call, on your kind of event. Or create your account and see it for yourself.
No setup fees. No required monthly ticketing fee. No credit card required.
Related guides
Do this on your own event
Create your account, build your event and follow the steps in your own dashboard. You do not need to book a sales call.