
Checkout and orders
Print venue directions and entry details on your tickets
Venues, festivals and club promoters get the same questions at the door every night: where is the entrance, when do doors open, what ID do I need. Putting the answers on the ticket itself means every buyer carries them to the venue. You set the text once for the event and can give a camping, VIP or parking ticket words of its own.
Add your own words to every ticket PDF for your event, such as how to get to the venue, which entrance to use and what to bring, and give one ticket type its own text or hide the date on its tickets.
- For
- Getting the door information onto every ticket your buyers carry
- Takes
- 4 minutes
Before you start
- You're the owner or an admin on the event, because only they can open Tickets.
- You have the words ready: directions, the entrance, door times, ID and anything buyers should bring.
-
Open the ticket settings
Open your event, select Tickets, then the Settings tab. The text box is at the foot of the Ticket Settings card.
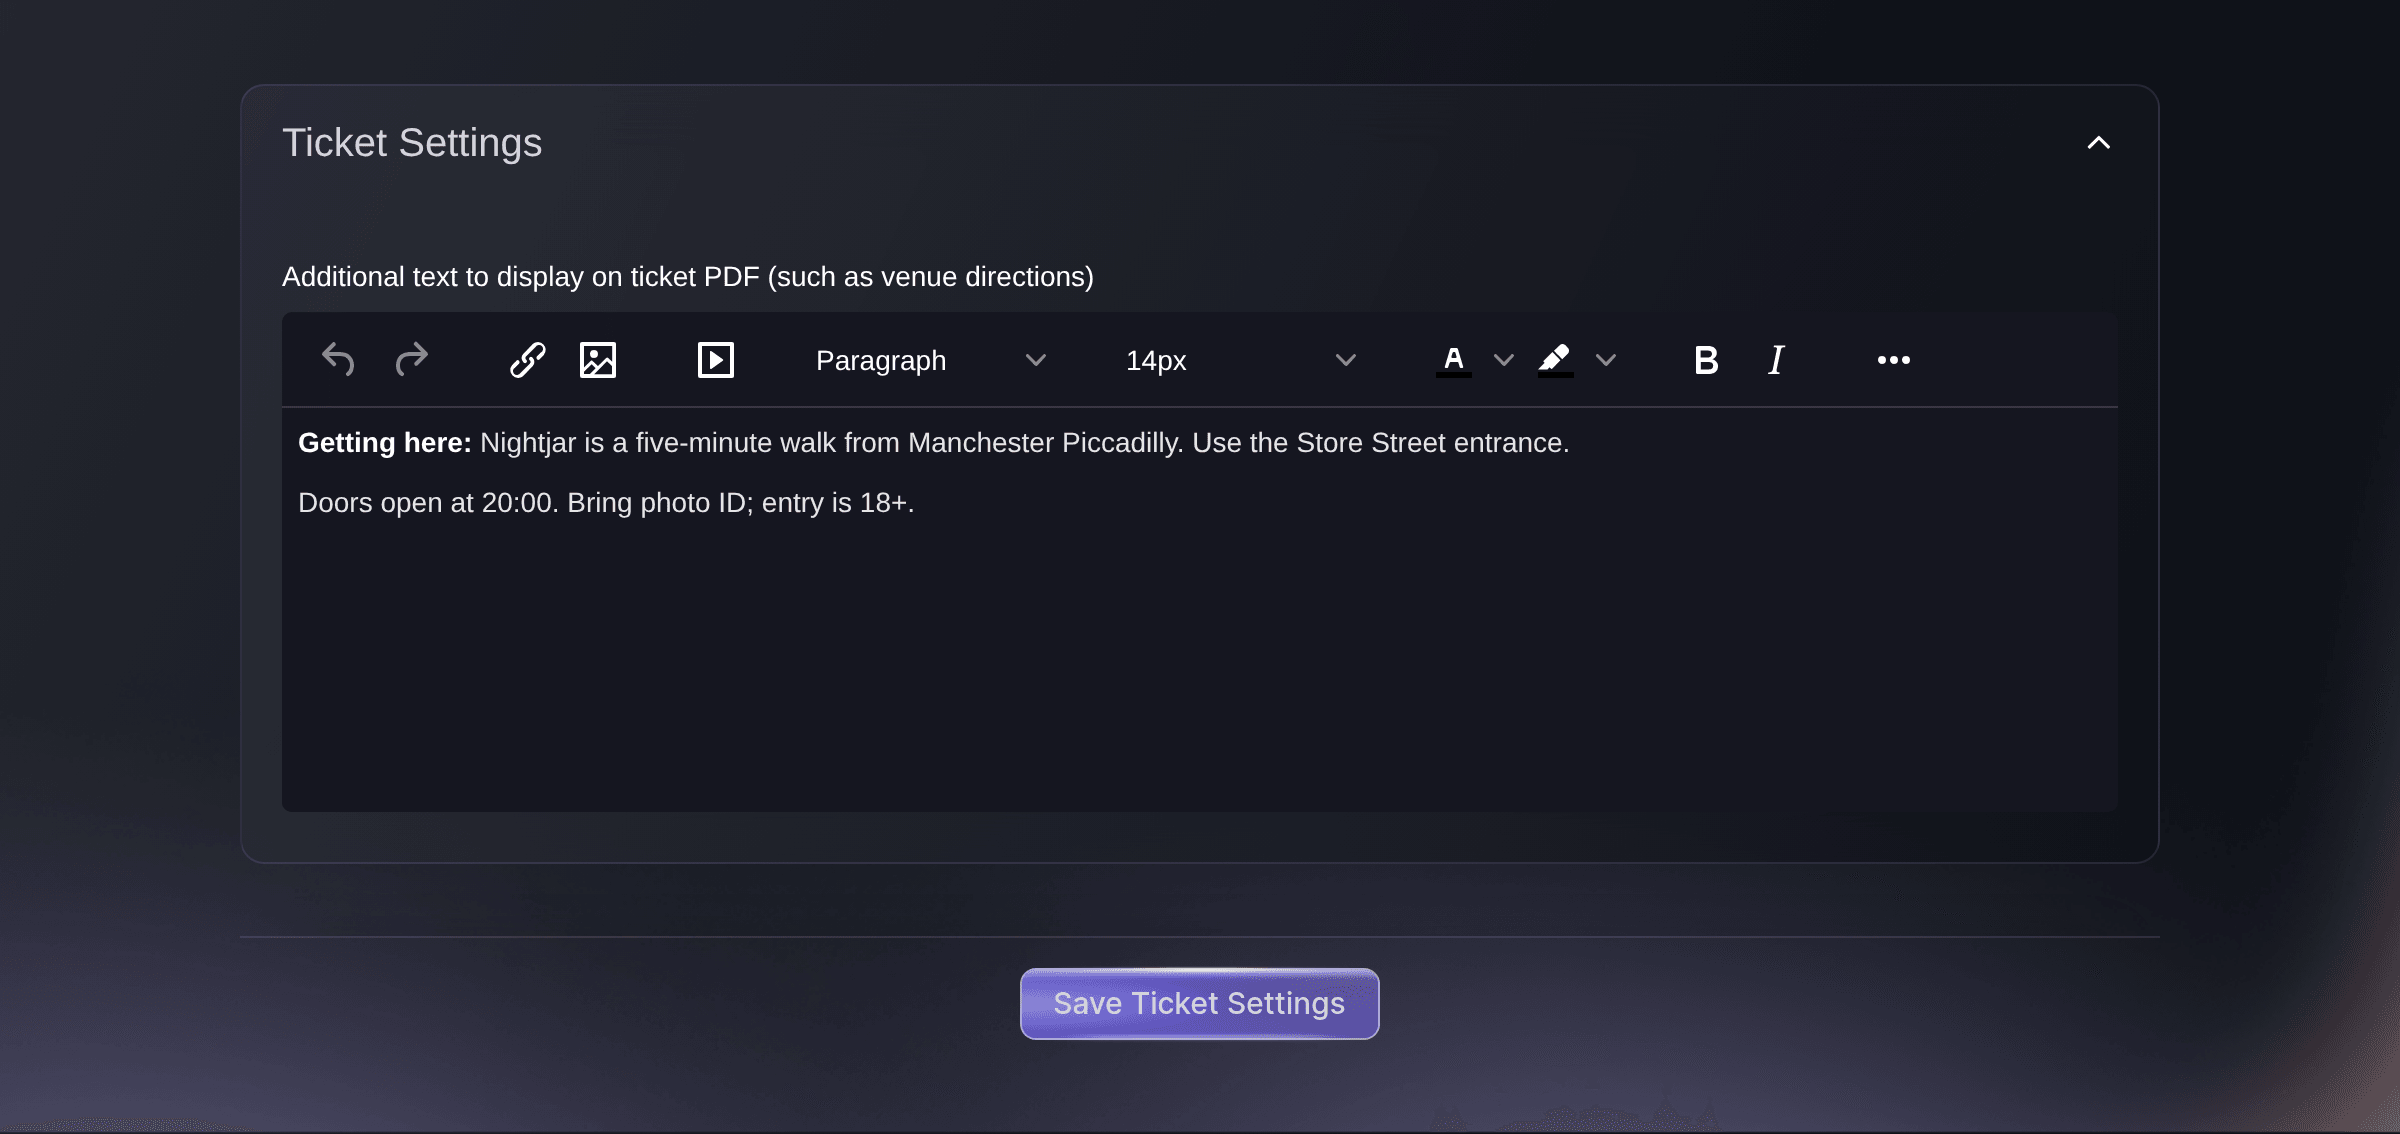
Event, Tickets, Settings, Ticket Settings. -
Enter the text for your tickets
Enter your directions and entry details in Additional text to display on ticket PDF (such as venue directions). The toolbar lets you set bold text, headings and links.
Tip: Keep it to what buyers need at the door, such as the entrance, door times, ID and what to bring, because the text prints on every ticket.
-
Save the ticket settings
Select Save Ticket Settings. Every ticket PDF for this event now carries your text.
Note: Tickets from Download for Ticket Printer print without it.

Tickets already sent
A ticket PDF is made from your current text each time a buyer or your team downloads it, so a download after you save shows the new words. A PDF already delivered in an email keeps the words it was sent with.
-
Download a ticket to check it
Open Orders, open an order and select the download button beside a ticket's code. The ticket PDF downloads with your text on it.
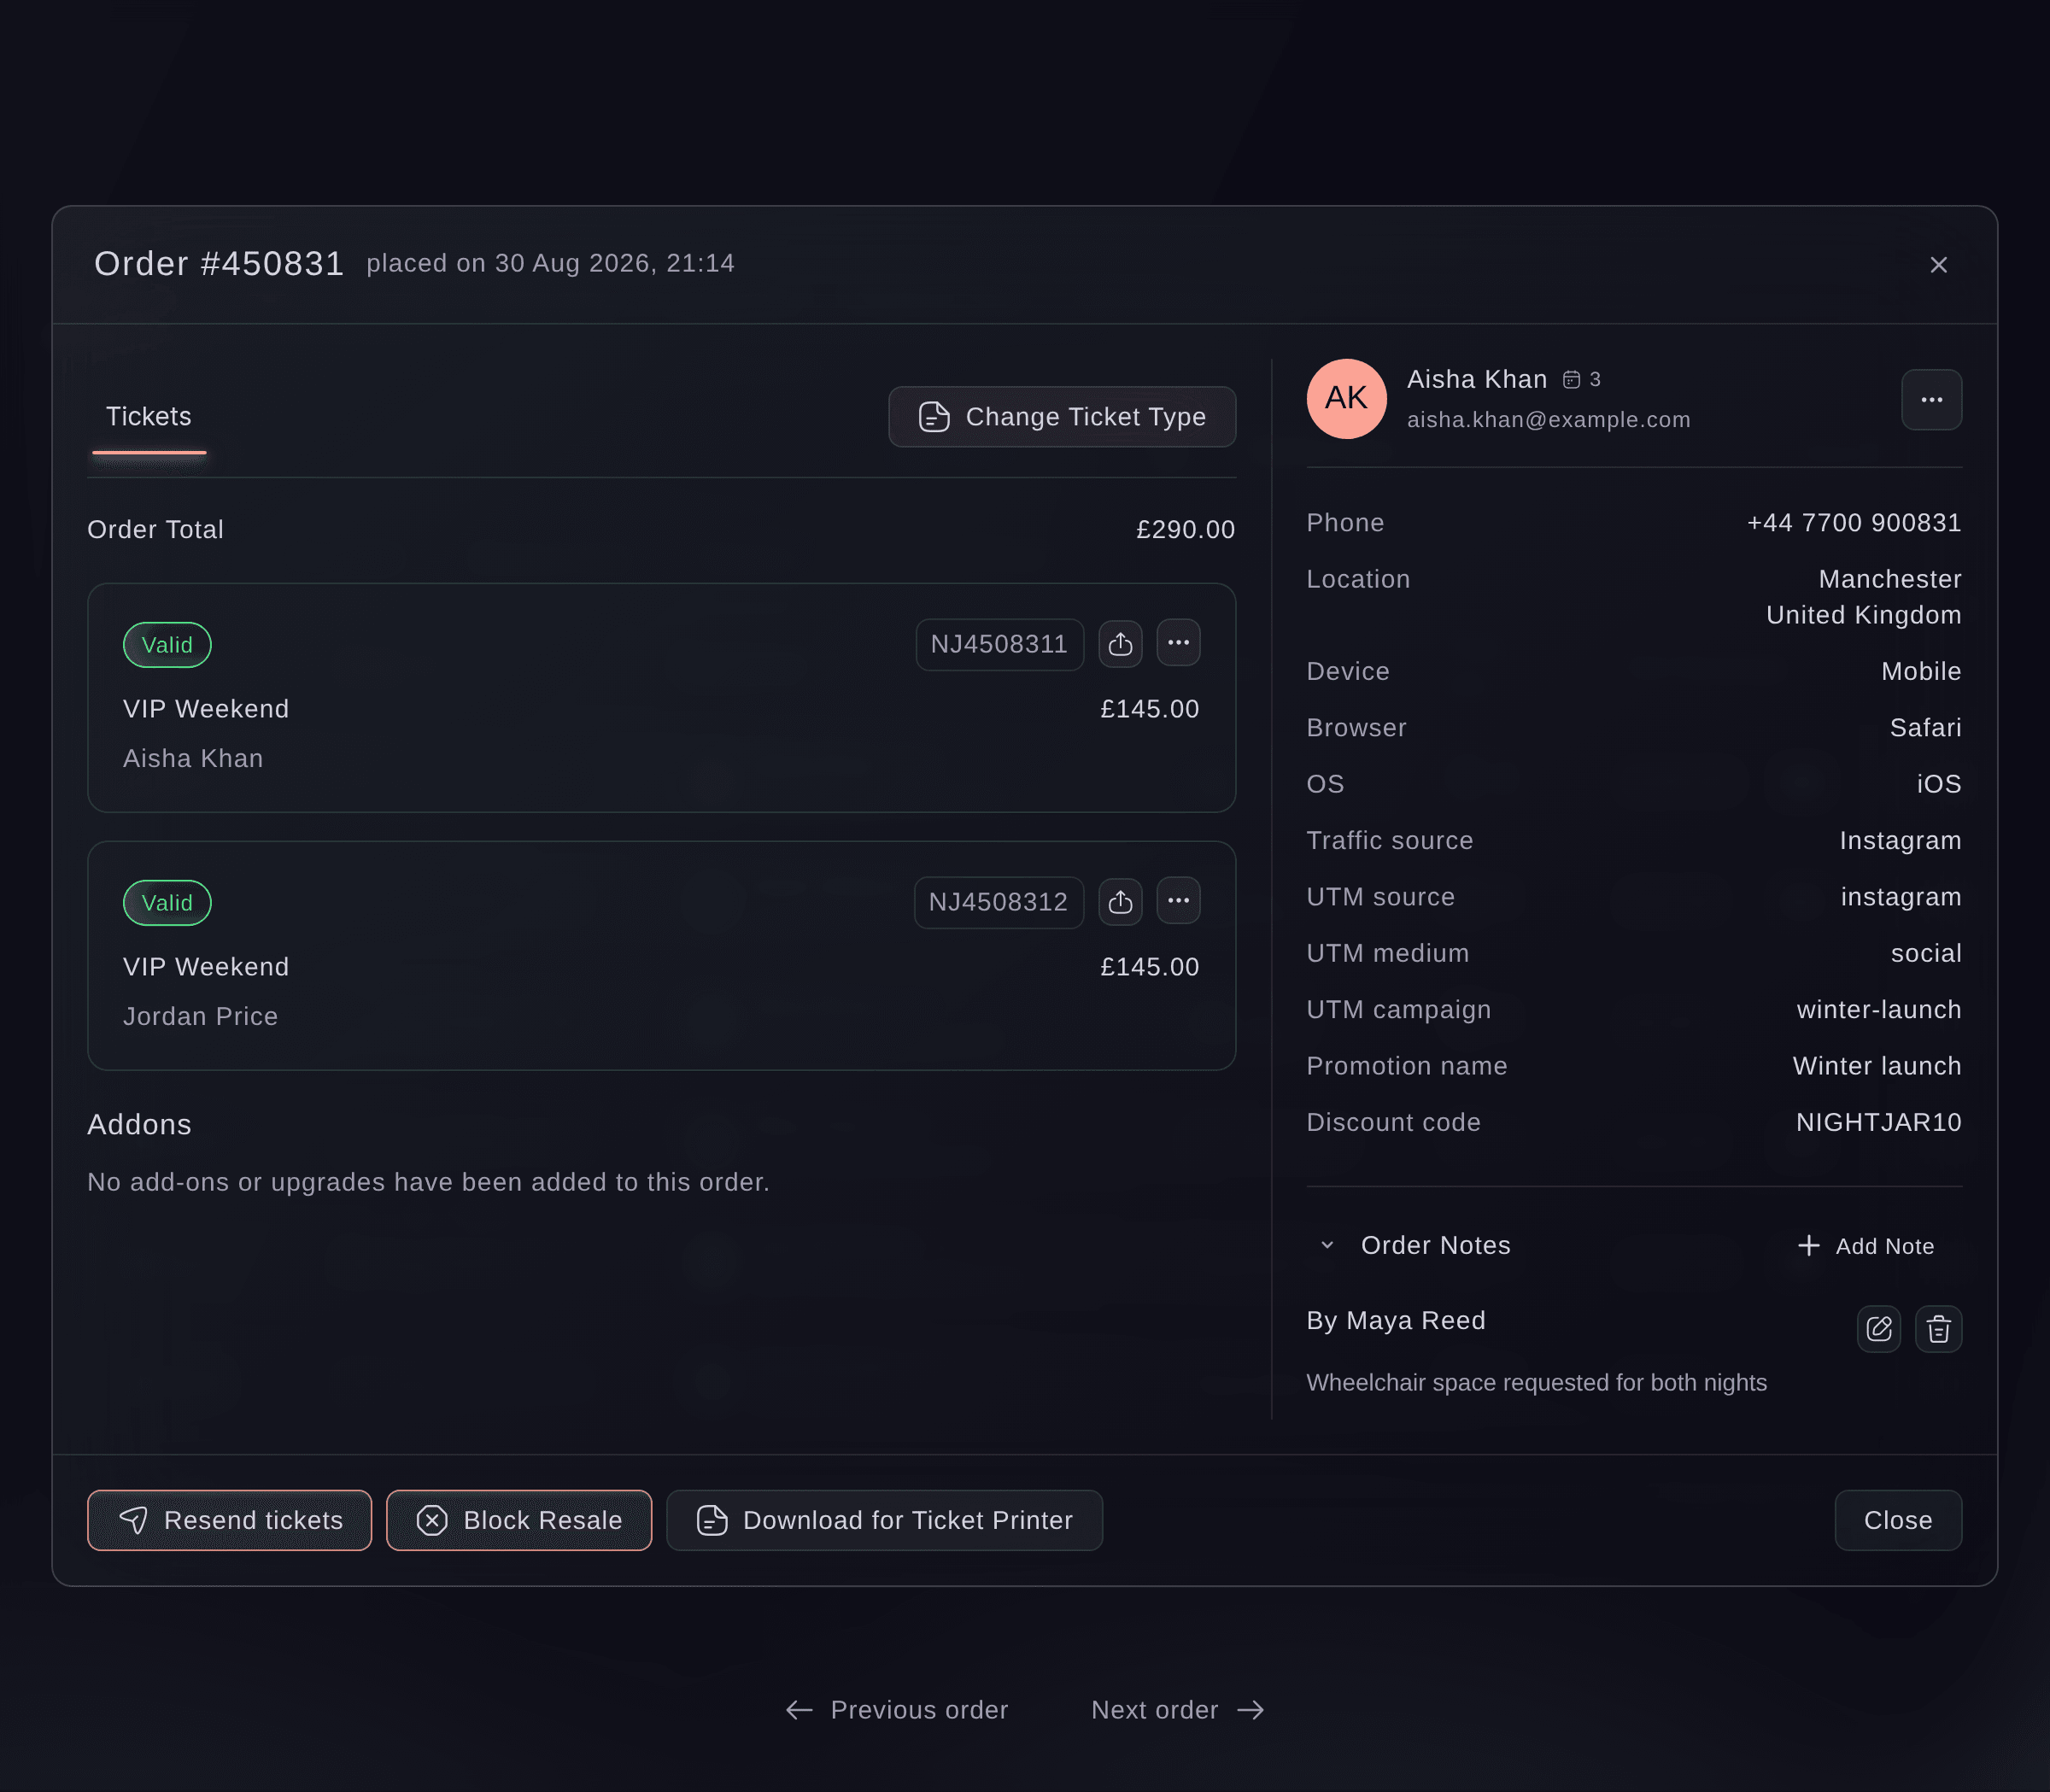
Event, Orders, order.

Try these steps on your own event
Create a free account, build your event and follow the steps above in your own dashboard. It takes a few minutes and you do not need to book a sales call.
No setup fees. No required monthly ticketing fee. No credit card required.
Or have it done for you
Fai, the assistant inside your dashboard, can set the words printed on every ticket for your event, or on one ticket type's tickets, and hide the date on a ticket type. She shows you the change and asks you to approve it before saving. MCP has no tool for ticket text.
In your dashboard, with Fai
On <EVENT NAME>, print this on every ticket PDF: <DIRECTIONS AND ENTRY DETAILS>. Show me the text before you save it
From your terminal
Install the CLI from our CLI page, sign in with ticketfairy auth login, and choose the brand you are working on with ticketfairy brand use <BRAND_ID>. ticketfairy brand list and ticketfairy event list show the IDs the other commands use.
Use the same login with the command line that you use in the dashboard, as the owner or an admin on the event. The event's ticket text is the ticketText attribute, sent in the body of an event update; it takes the same HTML the text box saves.
Sets the text printed on every ticket PDF for the event, replacing any text already there
ticketfairy event update <EVENT_ID> --body '{"ticketText":"<TICKET_TEXT>"}'
Let Fai do it for you
Fai works inside your Ticket Fairy dashboard. Create your account, open Fai and paste the prompt above.
No setup fees. No required monthly ticketing fee. No credit card required.
Give one ticket type its own text
-
Open the ticket type
Open Tickets, then select Edit on the ticket type under Ticket Types.
-
Enter the ticket type's text and save
Enter the words in Additional text to display on ticket PDF, then select Save.
Note: This text replaces the event's text on that ticket type's tickets rather than adding to it, so repeat anything from the event text that those buyers still need.
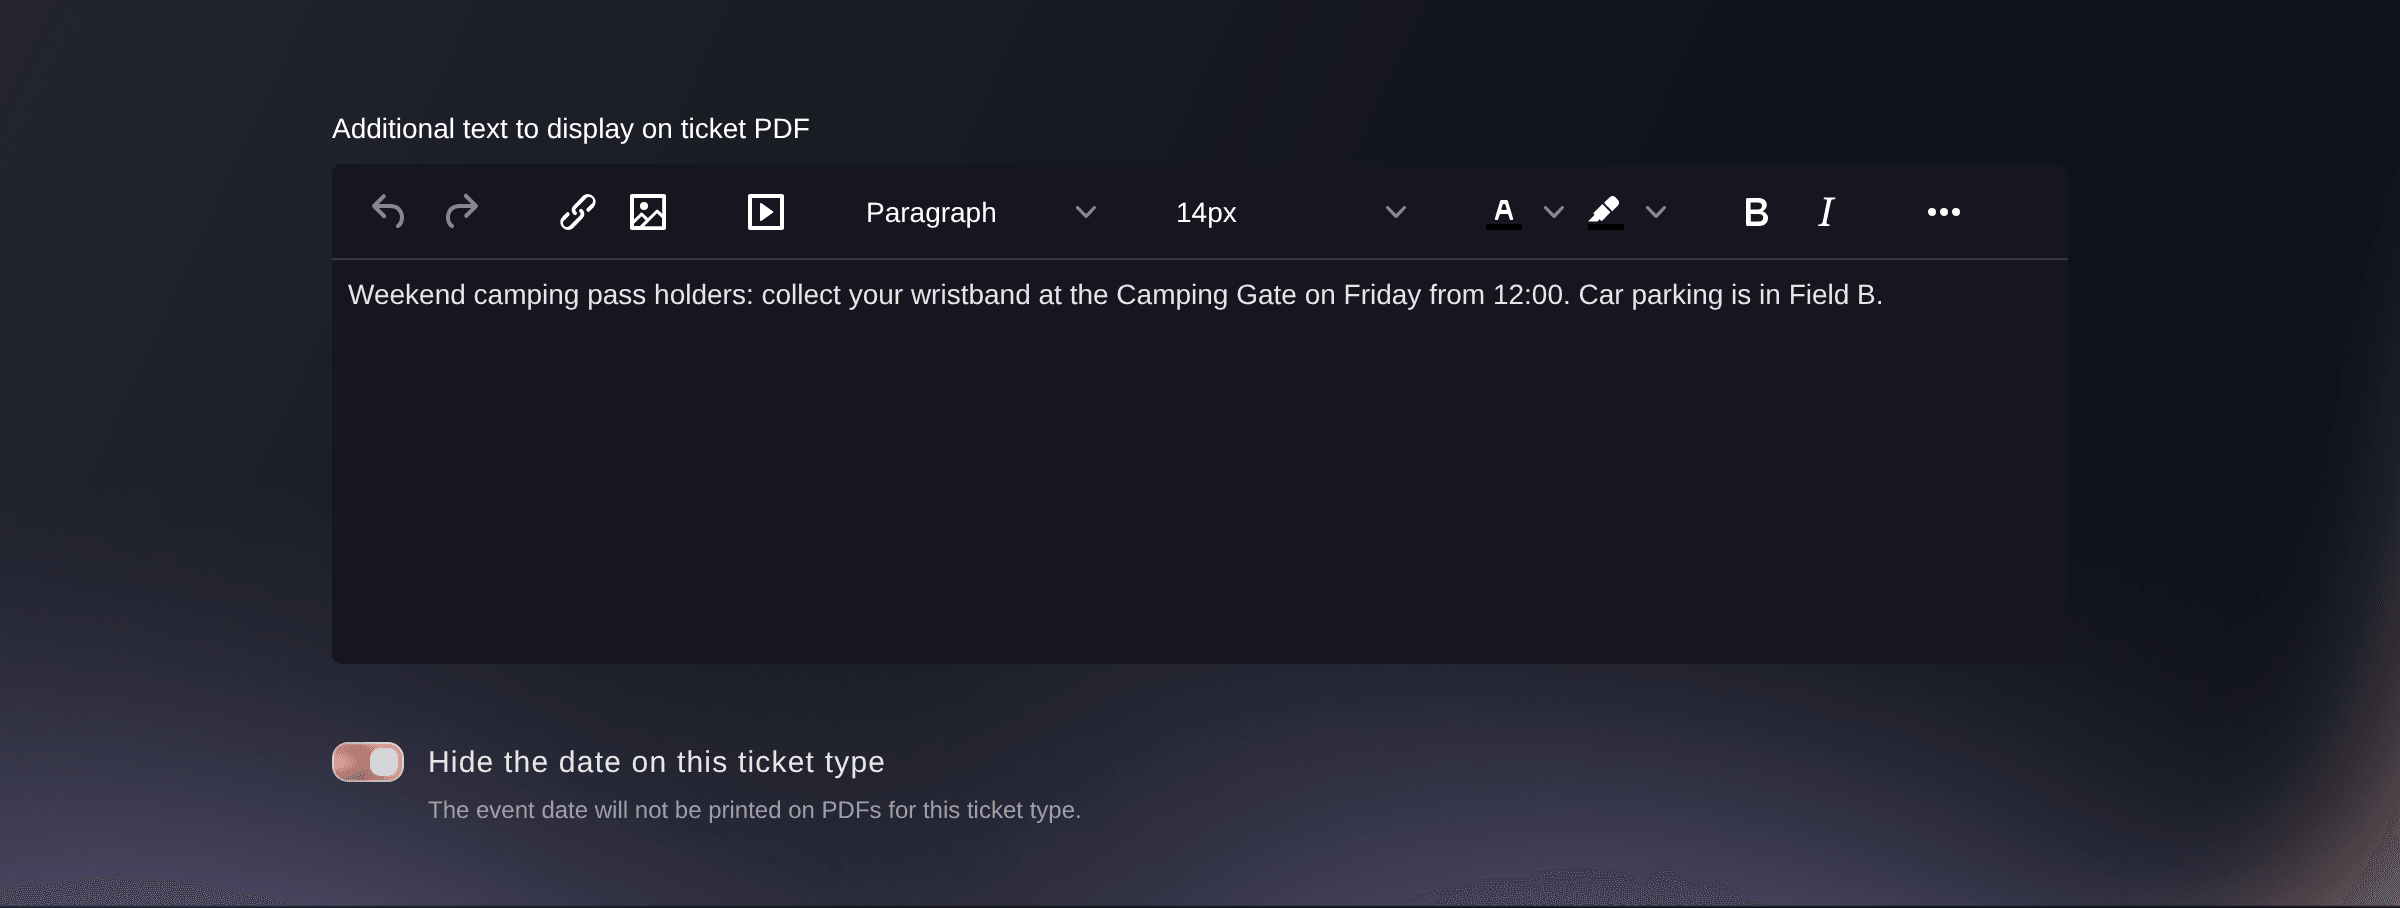
Event, Tickets, ticket type, Edit.

Fai can set one ticket type's text for you once you approve it. She asks before saving the change.
In your dashboard, with Fai
On <EVENT NAME>, print this on the <TICKET TYPE NAME> tickets only: <TEXT>
Hide the date on one ticket type's tickets
On the same ticket type form, turn on Hide the date on this ticket type, then select Save. Its tickets then print without the event date, which suits a ticket that covers several dates.
Fai can hide the date on one ticket type's tickets once you approve it.
In your dashboard, with Fai
On <EVENT NAME>, hide the date on the <TICKET TYPE NAME> ticket PDFs
Questions you might have
- Can I set the ticket text while I create the event?
- Yes. In the event setup, Advanced options has Additional text on ticket PDF, and it saves to the same text box you change later under Ticket Settings.
- I set text for the event and for a ticket type. Which one prints?
- The ticket type's own text. A ticket type with text of its own prints only that, and every other ticket type prints the event's text.
- Does the text appear on the event page?
- No. It prints on the ticket PDF that buyers download or receive. Use the ticket type's Description for words buyers should read before they choose a ticket.
- How do I remove the text?
- Clear the text box and save again. Tickets made after that carry no extra text, or the event's text where you cleared a ticket type's own words.
- Can I change the design of the ticket, such as its colours or logo?
- Your words, and whether a ticket type shows the date, are what you change on the ticket PDF yourself. Ask your Ticket Fairy contact about tickets in your own brand's look.
Still have a question?
Book a demo and we will answer it on a call, on your kind of event. Or create your account and see it for yourself.
No setup fees. No required monthly ticketing fee. No credit card required.
Related guides
Do this on your own event
Create your account, build your event and follow the steps in your own dashboard. You do not need to book a sales call.