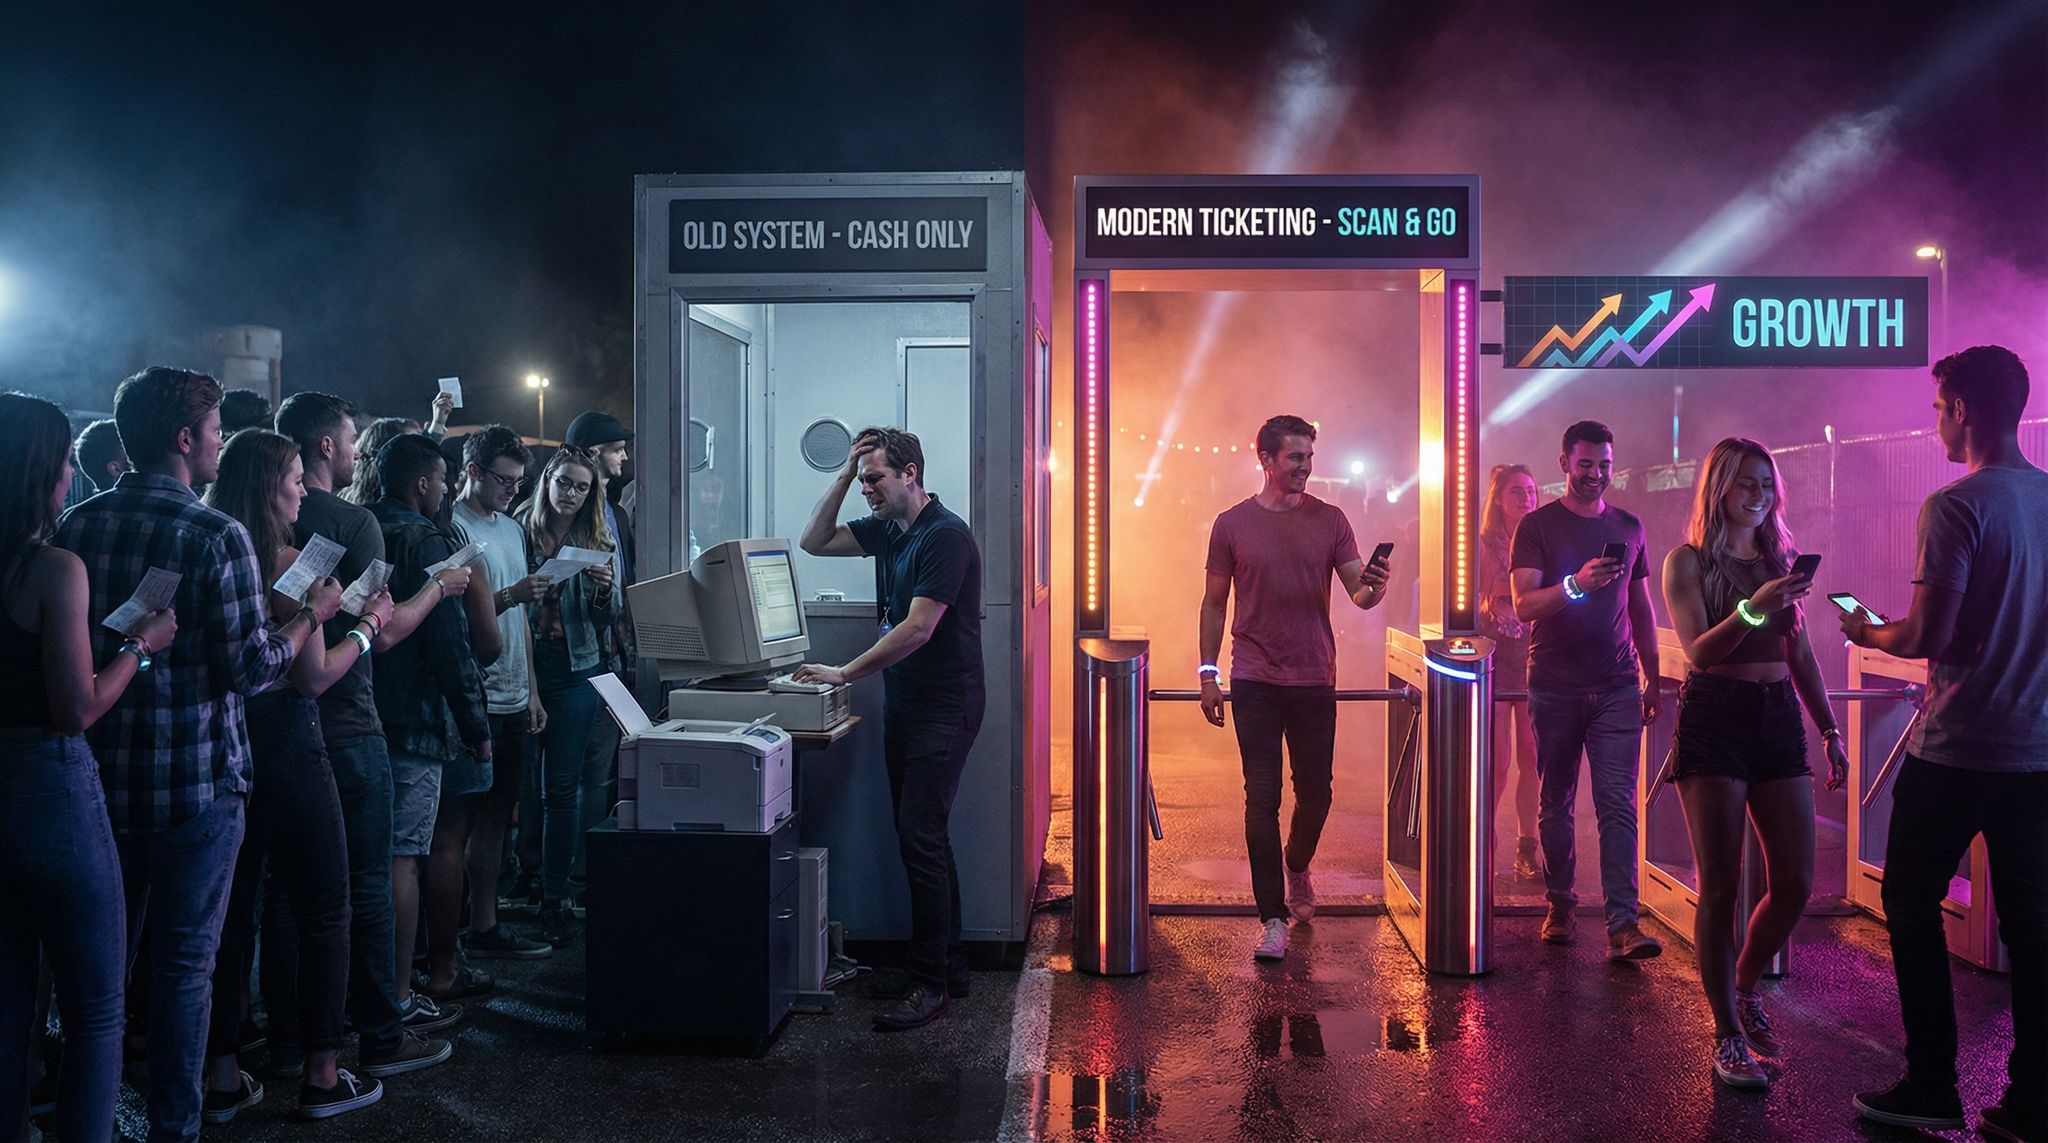
Introduction
In festival production, tents and temporary shelters form the backbone of a successful event environment. They provide essential cover for stages, vendors, VIP areas, and serve as critical safe havens during unexpected weather shifts. Choosing the right tents—and setting them up correctly—can mean the difference between an event that continues seamlessly or one that grinds to a halt because of wind or rain. This guide offers practical insights into selecting appropriate tent structures and ensuring they’re securely erected, drawing on decades of festival production experience.
Understanding Common Tent Types
Choosing the right type of tent is fundamental. Festival organizers typically rely on three main categories of tents, each with different strengths and ideal use cases:
Pole Tents
Pole tents are classic high-peaked tents supported by center poles and perimeter poles under tension. Advantages: They create an iconic festival look with swooping peaks, and they come in very large sizes (some can accommodate thousands of people). Pole tents are often more cost-effective per square foot than other types, making them budget-friendly for covering big areas. Considerations: They require sufficient open space for setup because ropes (guy lines) extend out around the tent’s perimeter, usually by several feet. The stakes for these ropes must be driven into the ground, so pole tents are best suited to grassy or soft soil venues. Additionally, the center poles inside can obstruct sightlines or floor layouts. For example, if you plan to use a pole tent for a stage, you need to position the stage and audience carefully so that a support pole isn’t blocking the performer from the crowd’s view. Many large music festivals have used pole tents as secondary stages, but they learned to integrate the poles into stage design (like wrapping them with decor or using them as lighting towers) rather than treating them as an afterthought.
Frame Tents
Frame tents use a rigid metal frame (usually aluminum) to support the canopy, eliminating the need for interior center poles. Advantages: With no poles in the middle, you get an unobstructed interior space—great for vendor booths, merch areas, or intimate performance stages where every inch counts. Frame tents can be set up on almost any surface, including parking lots or concrete, since they don’t rely on staking for structure (only for anchoring). This flexibility makes them popular for urban festivals or street fairs. They can also butt up against buildings or be joined together to cover odd-shaped areas. Considerations: Frame tents typically have a lower peak height and a boxier shape than pole tents, which may be less visibly striking from afar. They are also a bit heavier in structure, so installation can take longer for large frames, and they tend to cost more than pole tents of equivalent size. Frame tents still need to be anchored securely (either by stakes or weights) to withstand wind—just fewer anchor points are needed compared to pole tents. For instance, a 20×20 foot frame tent might be anchored at its four corners and mid-sides, whereas a pole tent of similar size might have many more stakes around the perimeter.
Boost Revenue With Smart Upsells
Sell merchandise, VIP upgrades, parking passes, and add-ons during checkout and via post-purchase emails. Increase average order value by up to 220%.
Clearspan Structures
Clearspan structures (also known as structure tents or marquee structures) are the heavy-duty solution for large festivals and long-term installations. They feature an engineered aluminum frame with no interior poles and can span very wide areas (some clearspans reach 40–50 meters in width or more). Advantages: They provide a completely open, unobstructed space like a warehouse, perfect for main stages, big top arenas, or massive weather-proof vendor halls. Clearspan tents often have high load capacities—meaning you can hang lighting, sound equipment, or heavy decor from the frame (with proper engineering approval). They also have modular wall and door systems, offering a more building-like environment with solid sidewalls, doors, and even HVAC for climate control if needed. Many high-profile festivals use clearspan structures for their premium stages or VIP mega-tents because of their durability and professional appearance. Considerations: Clearspans are typically the most expensive option and require skilled crews and machinery (like forklifts or cranes) to install. Setup can take significant time—a large clearspan for a stage might need several days of build time. They also demand very secure anchoring. Smaller clearspan structures (below a certain width, often around 40–50 feet or ~15 meters) can be weighted down if staking isn’t possible, but the larger ones almost always must be staked into the ground for safety. Ensure you have permission for staking or plan for massive ballast weights; the vendor will usually calculate exactly how much weight is required per leg based on wind load ratings. One legendary example of clearspan success was a festival that turned a giant clearspan tent into a late-night dance arena—when a surprise thunderstorm hit, the main outdoor stage had to pause, but the party continued safely under the clearspan, keeping attendees dry and the event momentum going.
Other Structures (Stretch Tents, Domes, and More)
Beyond the big three, festivals sometimes opt for alternative structures like stretch tents (flexible canopies that can be rigged into organic shapes), geodesic domes, or even shipping containers with temporary roofs. These can serve specific themes or practical needs—for example, a geodesic dome might house an art installation or a small stage with 360° audience layout. Tips: If using non-standard structures, work closely with specialty vendors who understand their engineering and setup. Always verify weight load, anchoring needs, and weather resistance; never assume an eye-catching structure is as weather-proof as a proven tent design.
Planning a Festival?
Ticket Fairy's festival ticketing platform handles multi-day passes, RFID wristbands, and complex festival operations.
Selecting the Right Tent Size and Layout
Determining sizes for tents is both science and art. It involves calculating the space needed for the intended use and accounting for comfort and safety. Here are a few guidelines and examples:
-
Stages and Audience Tents: If you want to shelter a stage and a standing audience, estimate roughly 10 square feet (about 1 square meter) per person for a dense crowd under a tent. For example, if you expect 500 people watching a smaller stage in the rain, a tent of about 5000 sq. ft. could be needed (such as a 50’ x 100’ tent). If seating is involved (chairs or tables), increase the space per person (closer to 15 sq. ft. per person or more) to allow room for aisles and furniture. Always allow extra space for the stage structure itself, backstage wings, and tech areas. One mid-sized festival learned this the hard way: they provided a tent just big enough for the audience, but forgot the space needed for the mixing console and camera platform – resulting in those areas getting soaked at the edges of the tent. The lesson: map out your stage and production needs inside the tent footprint ahead of time.
-
Vendor and Exhibit Tents: For rows of vendors (craft stalls, food booths, merch tables), you can either give each vendor a small individual tent (like a 10’x10’ pop-up canopy) or use a larger collective tent that houses multiple vendors side by side. For individual vendor tents, plan aisle space between rows (at least 10 feet, ~3 meters or more for crowd flow). For large shared tents (say a 20’x100’ long tent with dozens of vendors inside), consider ceiling height too – food vendors with grills may need ventilation, so an airy tall tent is better. Ensure there’s enough depth for vendors to work behind their tables (8-10 feet minimum). As an example, an organizer of a food festival opted for one big tent for all food stalls to simplify weatherproofing and power distribution; however, they found that noise and smells traveled through the open tent, so the next year they switched to separate tents for each vendor to create more distinct spaces and improve ventilation.
-
VIP, Backstage, and Operations: Don’t forget the functional tents that make the festival run behind the scenes. Backstage green rooms, artist hospitality lounges, first aid stations, and production offices often use frame tents or clearspan structures. These might not be as large as stage tents but are still crucial. For instance, a production office might only need a 20’x20’ frame tent with tables, chairs, and power for staff. A VIP lounge might be a 40’x40’ with a stylish interior, requiring a higher peak or even a clearspan for an upscale feel. Plan these spaces based on how many people will use them at peak times (e.g., if 50 staff need a break area at once, ensure enough square footage and seating). Also consider adding small tents for critical needs like storage (e.g., a 10’x10’ for storing electrical gear or merchandise boxes) and ensure they’re placed conveniently (like near stages or ticketing areas as needed).
-
Weather Contingency Areas: Always have a plan for where the crowd can go if sudden heavy rain or intense sun occurs. This might mean allocating a couple of medium-sized tents as chill-out zones or emergency shelter areas. For example, a 30’x50’ tent could hold a few hundred people in a pinch who are seeking refuge from a downpour. These tents can double as activity zones (workshops, demo areas, or lounges) during normal operations, but become weather shelters when needed. The key is not to use every single tented area for absolutely critical functions; keep some space flexible for the unexpected.
Tip: When planning layouts, use a to-scale map of your site to place tent shapes and ensure you leave enough clearance between tents for crowds, fire lanes, and vehicle access if needed. Remember that a tent’s stated size (e.g., 20’x40’) is just the covered area – you’ll need a buffer beyond that for stakes or weights and a bit of walking space. It’s common for festival producers to mark out tent footprints on the ground with biodegradable spray paint or flags a day or two before installation to avoid confusion when the tent crew arrives.
Need Festival Funding?
Get the capital you need to book headliners, secure venues, and scale your festival production.
Anchoring and Stability: Staking vs. Weighting
A tent is only as good as its anchors. Improperly anchored tents can be extremely dangerous – strong winds have lifted tents into the air, causing injuries and equipment damage. There are two primary anchoring methods:
-
Staking: This involves driving long metal stakes (pins) into the ground and attaching the tent’s poles or frame to these stakes with straps or ropes. Staking is generally the most secure method if you have soil or asphalt that can be staked into. Stakes can be 3 to 4 feet (about 1 meter) long and are driven deep for maximum hold. Large pole tents might require dozens of stakes around their perimeter. When staking, it’s vital to check for any underground utilities or irrigation lines – coordinate with the venue and use utility locating services if needed to avoid puncturing pipes or cables. Also, some surfaces (like historic sites or sensitive turf) may have restrictions on staking. When allowed, staking provides peace of mind because properly driven stakes resist very high winds. An experienced crew will angle stakes and fully hammer them in for best grip. Pro tip: Have a few extra stakes and sledgehammers on hand during the festival. If the forecast calls for high winds, adding additional stakes or re-tensioning ropes on a pole tent can further secure the structure.
-
Weighting (Ballasting): When staking isn’t possible (for instance, on a city plaza, concrete lot, or indoors on a slab), weights are used to anchor tents. These weights can be concrete blocks, metal plates, water barrels, or specially designed ballast blocks provided by tent companies. The key is having enough weight for each tent. As a general rule of thumb, small tents (like 10’x10’ pop-ups) should have at least 40 pounds (18 kg) of weight on each leg. Larger frame tents might require several hundred pounds per corner. And huge clearspan structures often need thousands of pounds of ballast on each footing to resist wind loads. Always follow the tent vendor’s recommendations on how much weight is needed—don’t cut corners. For example, one festival attempted to use 55-gallon water barrels (which are about 400 lbs when full) on each corner of a 40’x100’ frame tent, when the calculation actually called for double that weight; a sudden wind gust lifted one side of the tent, causing a minor collapse and a major scare. The lesson: secure more weight than you think you need, and then some.
-
Hybrid Anchoring: In some cases, you might use a combination of stakes and weights. This could happen if you can stake in some areas of a site but not others, or if you want extra security. For example, a tent on asphalt might use concrete anchors on the corners but still have some stakes driven into adjacent dirt along the edges if available.
When working with your tent rental provider, ask about the anchoring plan. Reputable vendors will have engineering specs or wind rating charts that show how many pounds of ballast or how many stakes are required for each tent size to handle (for example) a 30 mph wind. Don’t be afraid to request that information to satisfy yourself and any safety inspectors that the tents are secure. Remember, safety is paramount: a flying tent can end a festival faster than any rainstorm.
Coordinating with Tent Rental Vendors
Partnering with a reliable tent rental vendor is essential, especially for medium to large festivals. Here’s how to coordinate effectively:
-
Advance Planning and Booking: Large tents and clearspan structures are in high demand during peak festival seasons. Secure your tent rentals well in advance. It’s not uncommon to book many months (or even a year) ahead for big events. Provide the vendor with details on the event date, location, expected attendance, and the purposes of each tent (stage cover, beer garden, etc.) so they can recommend appropriate sizes and types.
-
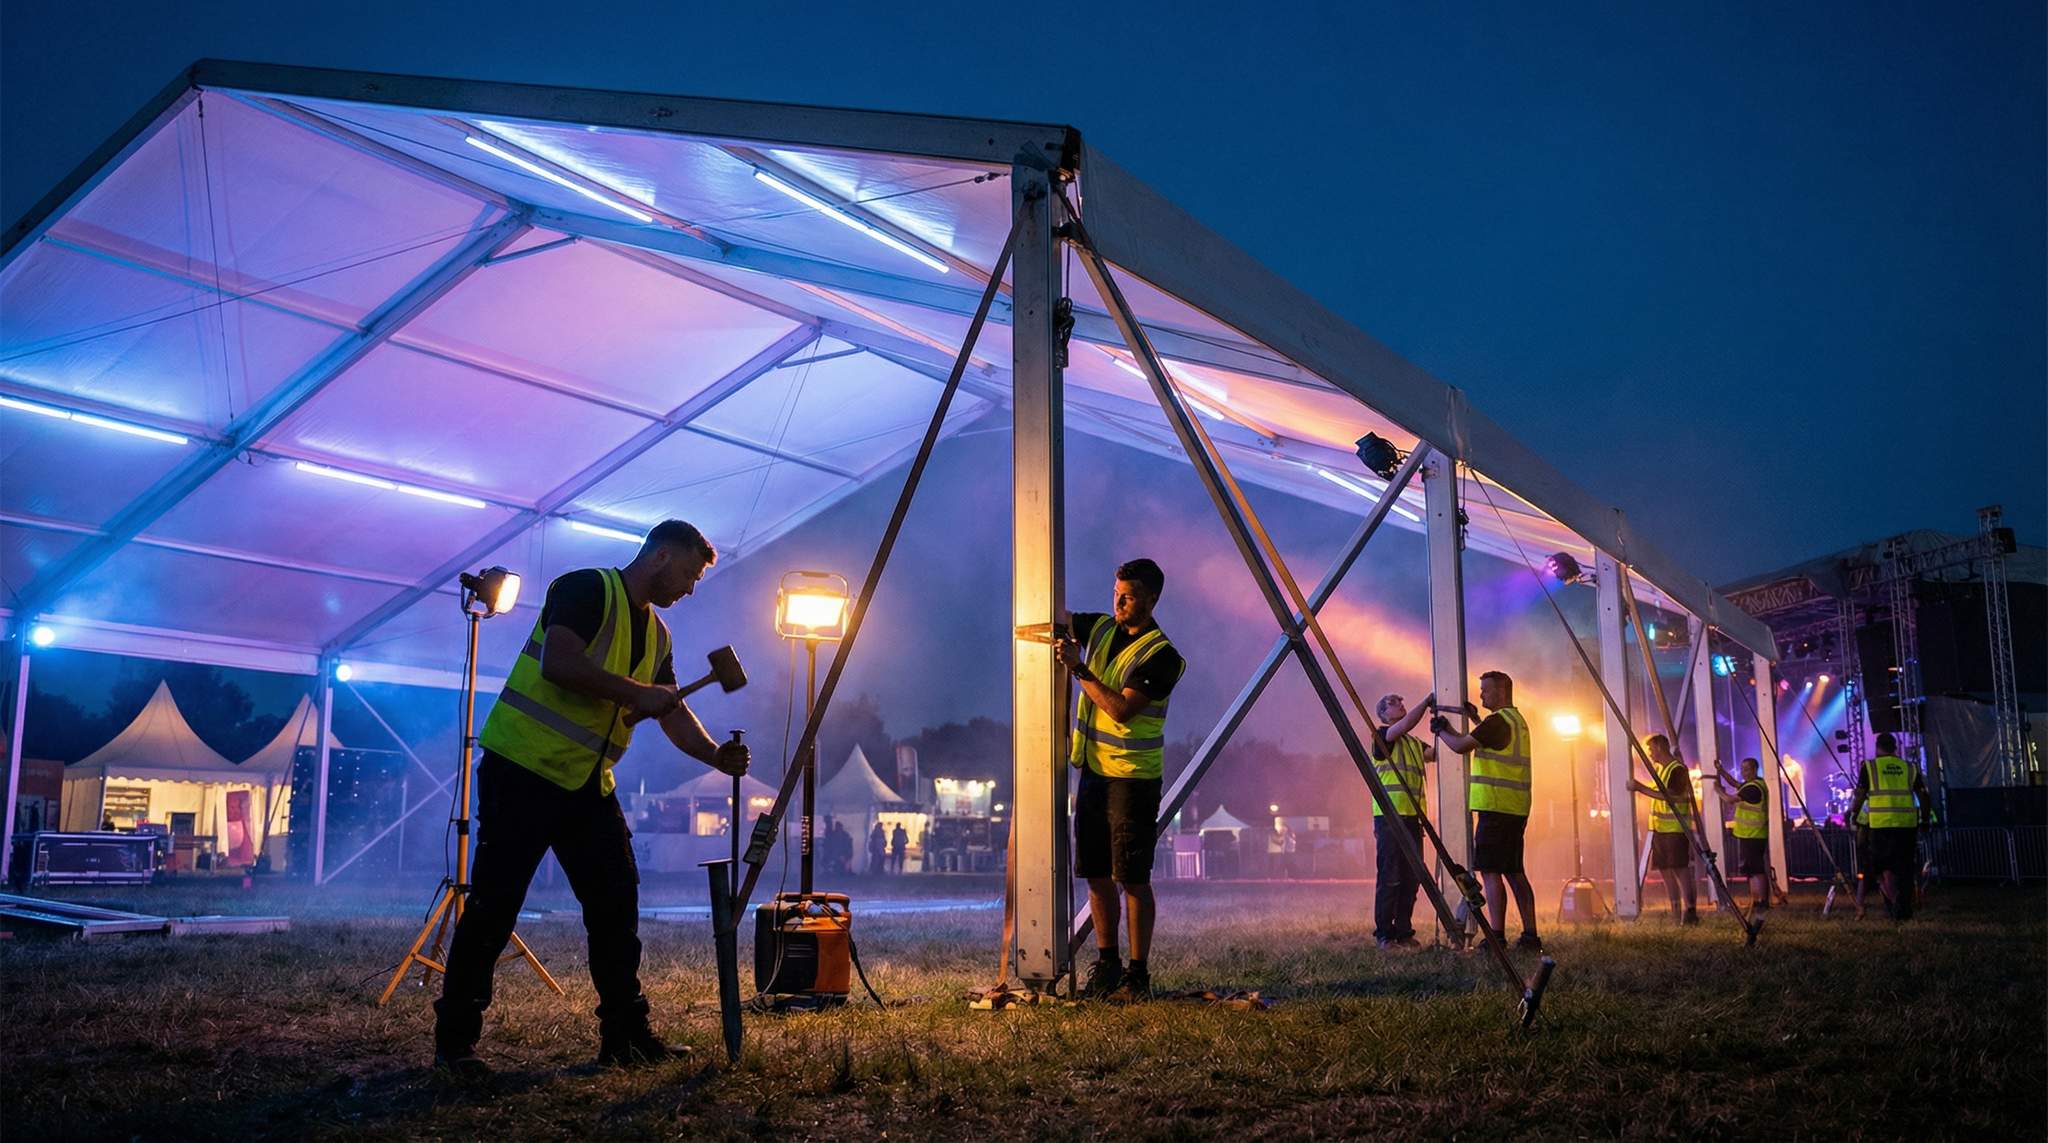
Site Visits and Consultation: Arrange a site visit with your tent vendor if possible. They can evaluate the terrain, note any installation challenges, and measure out areas. As a seasoned festival organizer would advise, walking the grounds with the tent professional often catches things you might miss – like noticing a slope that could affect a stage tent, low-hanging tree branches that need trimming, or figuring out where trucks can drive to unload the tent equipment. During the visit, discuss where to place tents for optimal traffic flow and safety (e.g., not blocking exit routes). A good vendor might also bring up ideas, such as adding flooring if the ground is uneven or recommending a different tent shape to better suit the spot.
-
Permits and Code Compliance: Many local authorities require permits for large tents (often those above a certain size like 400 square feet or a certain capacity). Permits usually mandate that tents are certified flame-retardant (which quality rental tents are) and may require a fire marshal inspection after setup. Make sure your vendor provides documentation on the tent’s fire retardant rating, and coordinate on adding features like exit signs, ‘No Smoking’ signs, and fire extinguishers inside big enclosed tents if required. Also, some jurisdictions might require engineering drawings or stamped calculations for huge structures like clearspans. This ties back to choosing a reputable vendor – they will typically handle or assist with these permits and have those documents ready. As an organizer, you should still double-check that all necessary permits are pulled well before festival day to avoid any last-minute shutdowns.
-
Scheduling Setup and Teardown: Tents can take a significant chunk of time to install. A crew of a few people might put up a 40’x40’ frame tent in half a day, whereas a team with machinery might need 2-3 days to build a 100’x200’ clearspan mega-structure. Coordinate the schedule so that tent setup is one of the first tasks on the site (after any heavy equipment has graded the land or installed stages that need to go first). You want all tents up and secured before you start setting up sound gear, decor, or anything that needs to go under them! Likewise, post-event teardown often requires the tents to be one of the last things to come down, after you’ve cleared out equipment from inside. Plan labor accordingly—your crew or volunteers might be needed to assist the tent company or at least to keep the area clear. If your festival uses multiple vendors (e.g., one for main stage clearspan, another for small vendor tents), ensure they coordinate so that they aren’t blocking each other’s work and to confirm that each has the necessary access (like bringing a crane in for the clearspan before the smaller tents fill up the field around it).
-
During the Event: It’s good practice to have contact info for a tent company representative during the festival in case issues arise (say, a strap comes loose or you want to remove/attach sidewalls due to changing weather). Some vendors offer on-call service or even have staff stay on-site if you have a lot of infrastructure. Also, instruct your festival staff and security to keep an eye on tents during the event—sometimes enthusiastic attendees might tamper with straps or move weights (for example, someone might sit on a ballast box or unplug a blower on an inflatable structure thinking it’s fine). Make sure these anchors remain untouched and clearly marked (you can put small safety fencing or cones around stakes and weights to prevent trip hazards and interference).
Weather Preparedness and Contingency Plans
Weather is the biggest wildcard for any outdoor festival. The right tent setup helps mitigate weather risks, but it doesn’t eliminate them. Always have a weather contingency plan that works hand-in-hand with your tent infrastructure:
-
Rain: For rain, having enough tents is key. Stages need roofing (either a tent or a dedicated stage roof structure) to keep equipment and performers dry. Attendees will seek cover – ensure those shelter tents are free of tripping hazards if they suddenly get crowded. Sidewalls on tents can keep out wind-blown rain but also trap heat, so use them judiciously (maybe keep sidewalls rolled up at the sides of a stage tent unless rain is blowing in from that direction). If heavy sustained rain is forecast, consider putting down flooring in high-traffic tents; otherwise, those areas could turn muddy even under cover due to foot traffic.
-
Wind: High winds are a serious concern for tents. Know the design wind load of each tent (your vendor can provide this, e.g., many frame and pole tents might be rated for around 30–40 mph winds if properly anchored; clearspans can sometimes handle a bit more). If forecasts predict winds nearing those speeds, be prepared to take action: this could mean proactively evacuating large tents like stages or vendor areas as a precaution, or even taking down smaller unsecured tents before a storm hits to prevent them from flying. Some festivals have a protocol where if wind exceeds a certain threshold, certain areas are cleared or closures happen until it’s safe. Don’t wait until a tent is teetering—err on the side of safety. In 2019, one regional festival had to temporarily close their big top tent when a freak wind gust (over 50 mph) came through; thanks to clear communication and previously rehearsed plans, they ushered attendees out calmly and no one was hurt, and the tent held up because it had been expertly secured. Planning for these situations is part of responsible festival management.
-
Heat and Sun: Tents also provide shade and heat relief. A hot sunny day can be just as dangerous as rain if attendees have no shelter from sunburn or heat exhaustion. Ensure there are shaded areas, especially near stages (where crowds stand for long periods) and in food/drink areas. Consider tents with removable or translucent tops for different effects – a white top tent will reflect sun and keep things cooler underneath, whereas a clear roof tent might look stunning at night under lights but can become a greenhouse during a hot day. If you use a clear roof for aesthetic reasons, be mindful of the heat and perhaps plan to cover it with a shade cloth or only use it when the sun is low. In terms of setup, if extreme heat is expected, you could incorporate fans or even misting systems into some tents (making sure electrical equipment is safely installed with GFCI outlets if water is involved).
-
Cold: Less common for festival season, but if you have a fall or winter event (or high elevation nights), tents can be outfitted with heaters. Plan for safely installing heaters (propane forced-air heaters, for example, which stay outside the tent with ducts blowing warm air in). Always maintain clear space around heater units and make sure the tent has some ventilation when sides are down, to avoid carbon monoxide build-up. Coordinate this with vendors too – some tent rental companies also offer heaters and flooring, which simplifies logistics.
Emergency Evacuation: Despite all preparation, sometimes weather will force an evacuation (lightning storms, extremely high winds, etc.). Tents are safer than open ground in rain, but not safe enough for severe thunderstorms or tornado-level winds. Identify solid structures nearby (if any) that could serve as true shelters. At the very least, have a procedure for delaying or canceling performances and directing people to exit to their cars or other safer areas if truly hazardous weather is approaching. Use your tents as a means to buy time (keep people reasonably comfortable and safe in mild storms) but know when to call it quits for everyone’s safety.
Successes, Failures, and Lessons Learned
Every veteran festival producer has stories of both triumph and tragedy when it comes to temporary structures. Here are a couple of condensed lessons from the field:
-
Case Study – The Underweighted Tent: A small-town music festival once set up a 30’x30’ frame tent to cover their merchandise and info booth. The team, inexperienced with tents, placed a couple of cinder blocks on each foot, thinking it would suffice. When an afternoon storm rolled in, a strong gust sent the tent lifting off the ground. Staff and bystanders caught it before it blew away completely, but not before one corner crashed down on the merch table, damaging goods and giving everyone a scare. The post-mortem was clear: they had used maybe 100 lbs of total weight when that size tent really needed several times that. The following year, they contracted a professional tent company to handle installation, and every tent leg had proper ballast. The peace of mind was worth the cost.
-
Case Study – Weather-Proofing Saves the Day: A large food and wine festival invested heavily in tenting – every demo stage had a tent, walkways between vendor booths were under tent canopies, and a big clearspan was set aside as a weather contingency hall with live entertainment. Ticket buyers might have questioned why so much of the site was covered in canvas on a sunny opening day. But on day two, when an unexpected cold front brought rain showers, the festival hardly missed a beat: attendees simply moved under cover, tastings continued in the big tent, and the live music was moved into the clearspan structure. The event earned praise for its comfort and smooth operation despite the bad weather. The lesson here is that investing in the right tent infrastructure can directly translate to resilience and a better experience, which in turn protects the festival’s reputation and bottom line.
-
Lesson – Fit the Tent to the Task: One common mistake is using whatever tent is cheap or available, rather than one suited to the specific need. For example, a promoter tried to use a pole tent as an outdoor stage cover because it was cheaper than a stage roof or clearspan. Unfortunately, the center pole was directly in front of the stage thrust, creating a poor viewing experience, and the guy ropes limited how close the audience could get. In hindsight, a frame tent or clearspan (with open sides and no center poles) would have been the better choice for a stage, even if at higher cost. The takeaway: match your tent type to the usage scenario—sometimes spending a bit more or choosing a different style greatly enhances safety and attendee satisfaction.
-
Lesson – Communication with Vendors and Crew: Another real scenario involved a miscommunication where a tent crew arrived to set up a 60’x100’ pole tent only to find the area wasn’t cleared as expected – the festival’s volunteers had parked gear and fencing all over the spot. The delay not only irritated the tent installers but also pushed back sound checks and vendor load-in. This taught the organizers to always double-check that a site is prepped for tent installation: mark the area, clear the obstacles, and confirm the schedule with all parties. It may sound simple, but in the rush of festival build week, such details can slip through the cracks unless someone is specifically tasked to oversee the tent setup process.
Frequently Asked Questions
What is the difference between pole tents and frame tents?
Pole tents rely on center poles and tension ropes staked into the ground, offering high peaks and cost-effectiveness for large grassy areas. Frame tents use a rigid metal structure without interior poles, allowing for unobstructed views and setup on hard surfaces like concrete using weights instead of stakes.
How much space per person is needed for festival tents?
For a standing audience under a festival tent, estimate approximately 10 square feet (about 1 square meter) per person. If the layout includes seating with chairs or tables, increase the allocation to roughly 15 square feet per person to accommodate aisles, furniture, and comfortable movement.
What are the advantages of using clearspan structures for festivals?
Clearspan structures feature engineered aluminum frames with no interior poles, creating massive unobstructed spaces ideal for main stages or VIP areas. They offer high load capacities for hanging equipment, support modular wall and door systems for climate control, and provide a durable, professional environment similar to a permanent building.
How do you anchor a tent on concrete or asphalt?
When staking isn’t possible on hard surfaces like concrete, tents must be anchored using heavy weights or ballast blocks. Small tents typically require at least 40 pounds per leg, while larger structures need hundreds or thousands of pounds per anchor point based on engineering wind load calculations.
How much wind can festival tents withstand?
Many standard frame and pole tents are rated to handle winds around 30 to 40 mph when properly anchored. Larger clearspan structures may withstand higher speeds, but organizers must monitor weather closely and evacuate tents if wind speeds approach the specific design load rating provided by the vendor.
Why is a site visit important before renting festival tents?
A site visit allows tent vendors to evaluate terrain, identify installation challenges like slopes or low-hanging branches, and determine optimal placement for traffic flow. Walking the grounds ensures trucks have access for unloading and helps organizers avoid layout mistakes that could obstruct emergency exits or stage views.