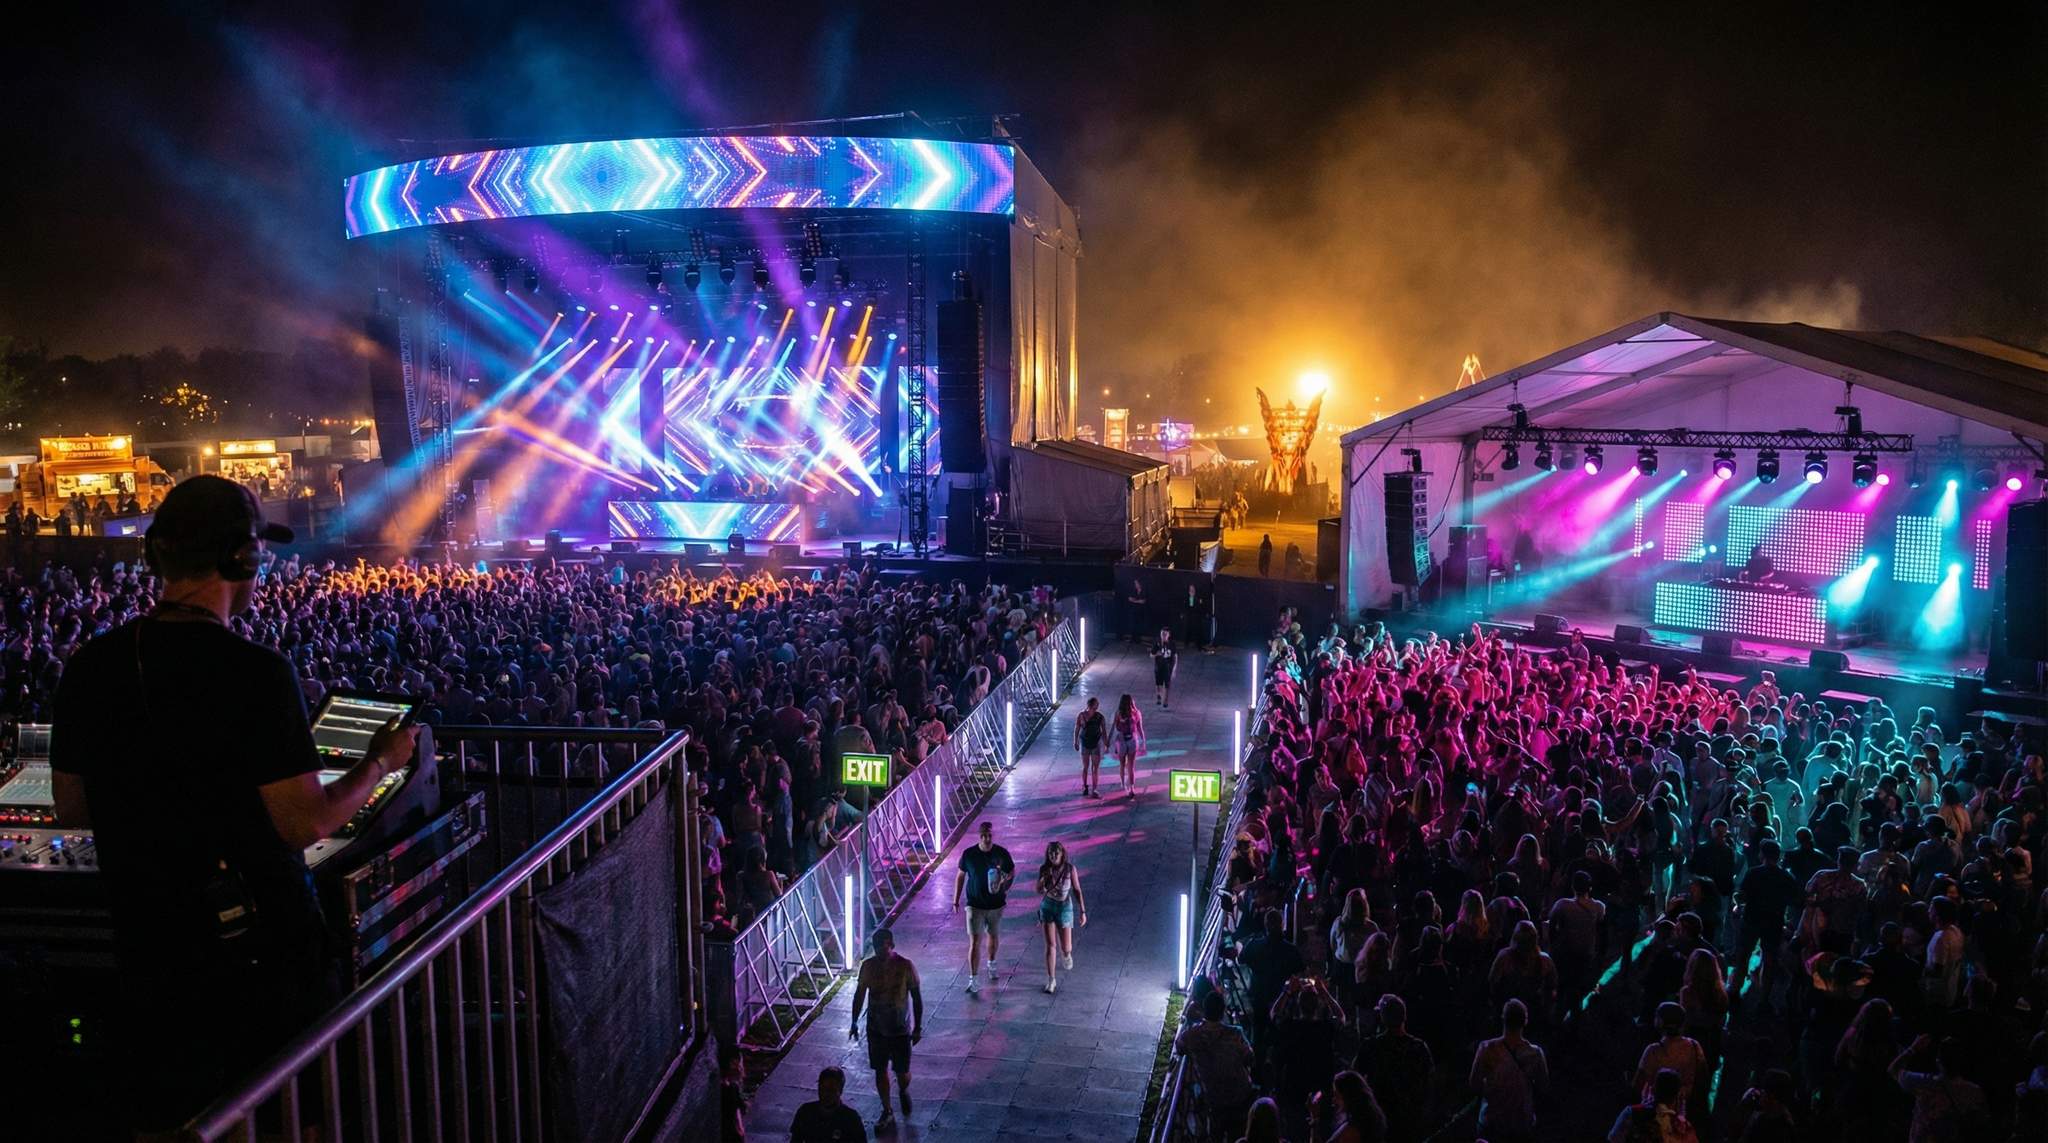
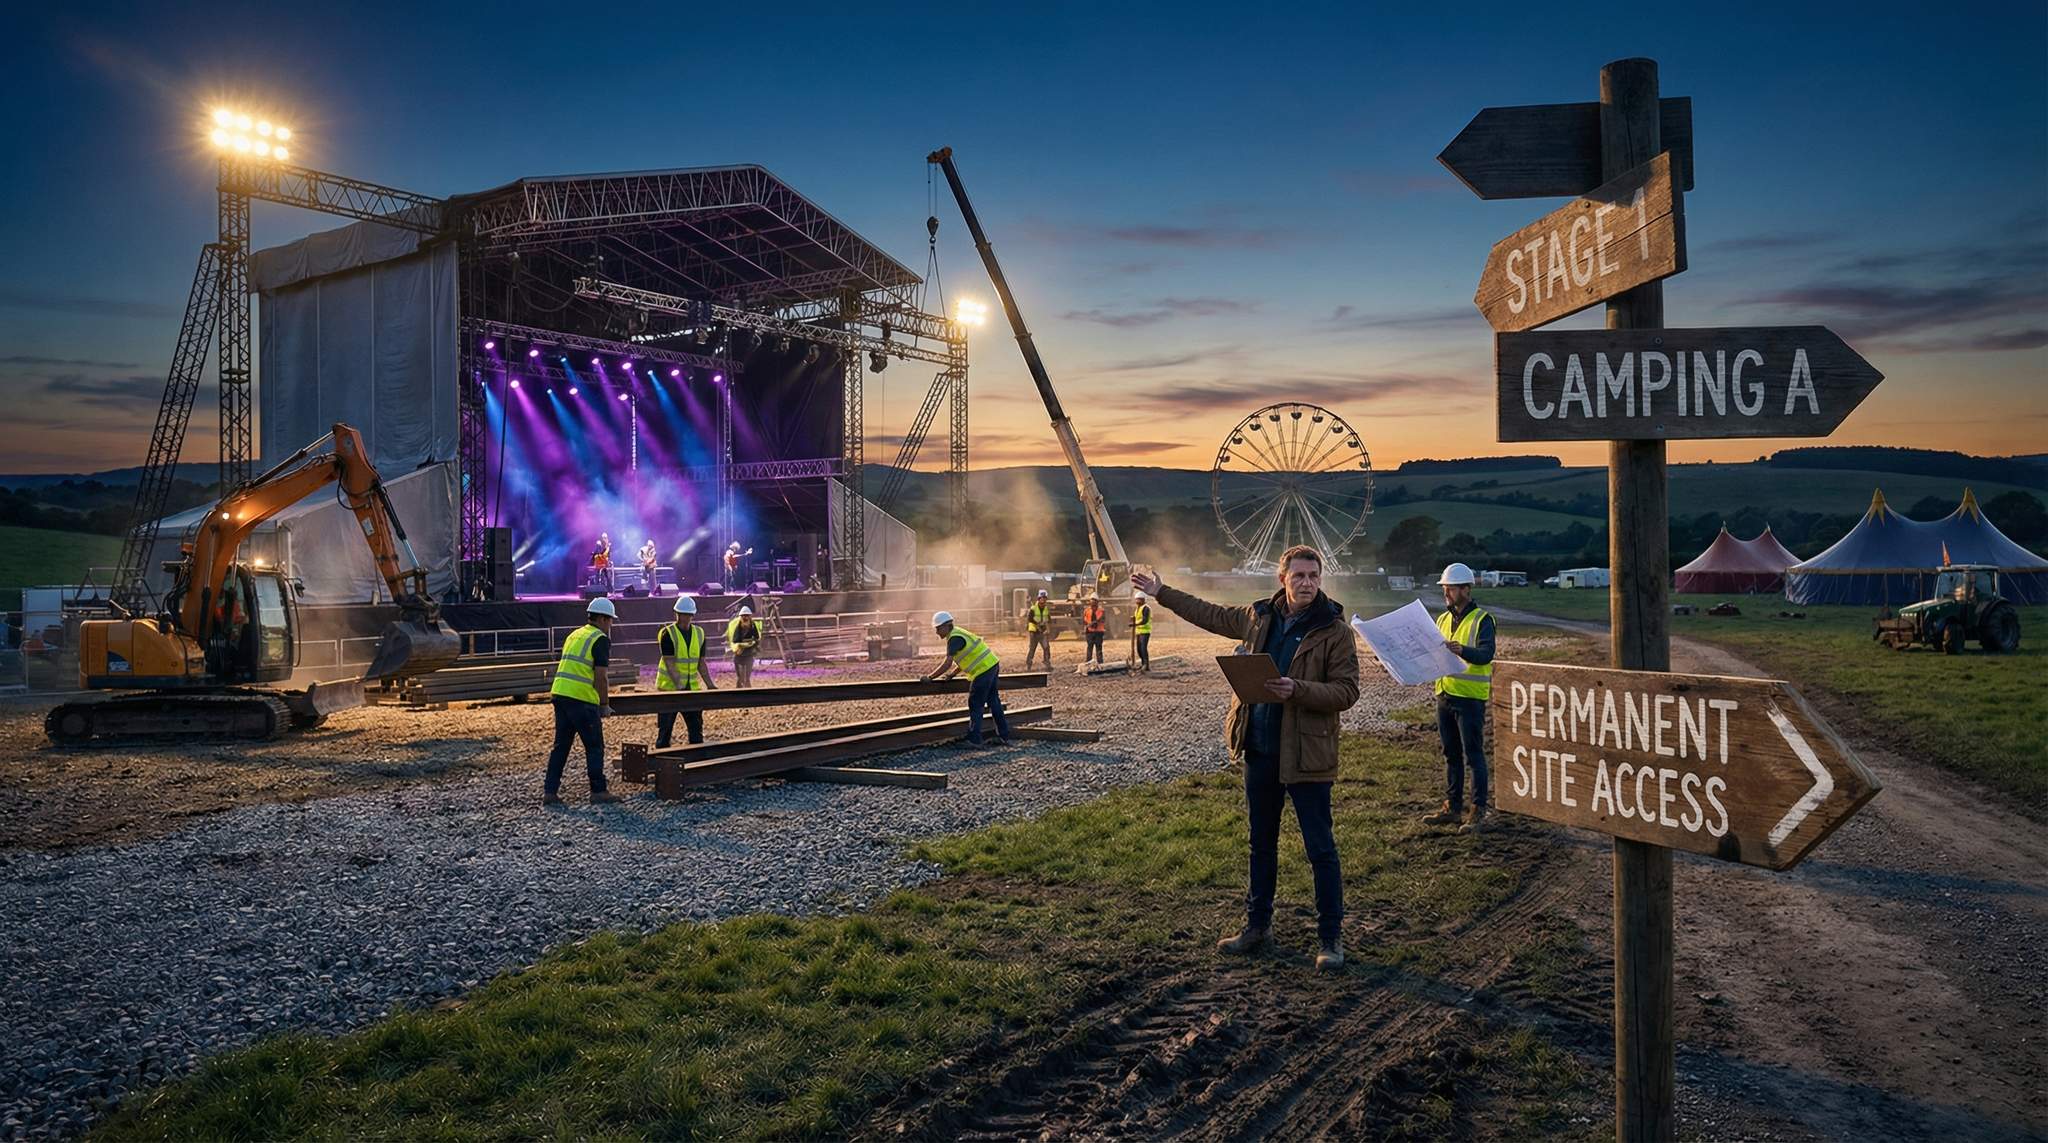
Introduction – In a multi-stage festival environment, one of the trickiest balancing acts is maintaining lighting and visual parity across stages without entering a counterproductive “one-upping” competition. Every festival producer wants the main stage to wow the crowd, but that shouldn’t come at the expense of smaller stages feeling lackluster. The goal is to ensure each stage – whether it’s the headliner arena or an intimate side stage – delivers a compelling visual experience. This means setting standards and coordinating efforts so no stage (or its audience and performers) feels neglected. From establishing minimum lighting and LED standards per stage tier, to coordinating content with VJs well in advance, to designing safe night-time looks and meeting laser safety compliance, a veteran festival organizer’s wisdom can guide the way.
Setting Tiered Lighting and LED Standards
Large festivals often have multiple performance areas of different sizes. It’s vital to define a minimum production standard for each tier of stage. By doing so, smaller stages still have a professional feel and exciting atmosphere, even if they’re not as grand as the main stage. For example, if the main stage boasts massive LED walls and an arsenal of moving lights, the secondary stages should at least meet a baseline: a reasonable LED screen (or backdrop projection) and a core set of intelligent lighting fixtures. This ensures fans and artists on those stages still get a show experience, not just a bare-bones setup. A well-designed smaller stage with fewer fixtures can still create magic with thoughtful programming – the key is to avoid an obvious gulf in quality that screams “low priority”.
Practical Tip: Develop a “tier spec sheet” for your festival. Tier 1 (Main stage) might have the works – full lighting rig, multi-layer LED or projection, special effects. Tier 2 could specify a scaled-down but solid package, such as a modest LED wall (say 4m x 2m minimum) plus 20 moving head lights and atmospherics. Tier 3 (small stages or tents) might guarantee at least some LEDs or pixel bars and a dozen versatile lights (like LED PARs or a few movers) to cover basic color washes and beam effects. Publishing these standards early to all technical suppliers and stage managers sets clear expectations. It also prevents an “arms race” mentality where each stage crew tries to quietly add more gear to impress – which can cause budget overruns or technical headaches. Consistency in visual quality keeps the festival brand cohesive; attendees should feel a common level of immersion throughout the grounds.
Case in Point: At international festivals like Tomorrowland (Belgium) and Coachella (USA), even secondary stages receive significant visual design attention. While the main stages are show-stoppers, the organizers ensure other arenas—be it a tent or a smaller open-air platform—still feature dynamic lighting and LED content. This approach pays off in audience satisfaction: fans wander into a smaller stage at night and still feel a bit of the wow-factor, instead of seeing an unloved, dark corner. Likewise, artists performing on those stages feel respected when the festival provides them with quality production. On the flip side, festivals that skimp on production for smaller stages risk thin crowds and performer frustration. The investment in a baseline standard per tier is not just aesthetic – it improves crowd distribution (people willingly explore all stages if each offers a good experience) and can elevate the festival’s overall reputation.
Coordinating Visual Content with VJs Early
Modern festival stages rely heavily on video content – from LED screen animations to projection mapping and live camera feeds. If you plan to have custom visuals or VJ-driven content, it’s crucial to set up content pipelines and codec guidelines for your visual artists well before show week. Last-minute file format issues or content incompatibilities can derail a show segment, so proactive planning is key.
Start by communicating with the VJs or content teams for each stage at least several weeks out. Provide them with a detailed brief that includes:
Planning a Festival?
Ticket Fairy's festival ticketing platform handles multi-day passes, RFID wristbands, and complex festival operations.
- Screen specifications: Dimensions and resolution of LED walls or projectors for each stage. (For example, “Stage 2 LED wall is 3840px by 1080px resolution, 16:9 aspect.”)
- Codec and format requirements: The preferred video codec and file format that your media servers or playback systems support reliably. If your LED servers use, say, the HAP or DXV codec for smooth performance, let the content creators know upfront. This avoids scenarios where a VJ shows up with only H.264 MP4 files when the server prefers QuickTime MOV with a specific codec – or vice versa. Converting large video files on site under time pressure is a nightmare you want to sidestep.
- Frame rate and color profile: Inform if content should be 30fps, 60fps, etc., and any color profile specifics especially if using HDR LED systems.
- Delivery timeline and method: Set a deadline for content submission or testing. For instance, request that all headline artists’ visuals be sent one week prior for a compatibility test on the actual gear. If you have an FTP or cloud drive for content, share access and folder structures. Ensure there’s a backup method (such as bringing content on SSD drives) in case internet transfer fails.
By offering a clear content pipeline early, you enable VJs to tailor their creations to your system. It also gives time to troubleshoot. Perhaps a VJ in Australia is preparing generative visuals – with your guidance, they discover they need to use a different rendering codec to avoid color banding on your specific LED panels, and they can adjust in time. Or an artist’s team from Germany might be planning to use live camera feeds mixed with graphics; by discussing early, you can integrate your video director so that feeds are routed correctly. The goal is to eliminate on-site surprises.
Seasoned producers will even organize a pre-festival content rehearsal or tech check for visuals. This might be as simple as running each artist’s video file on the server in advance, or as involved as a full video programming session with the VJ and lighting operator present. The payoff is smoother set changes and happy artists. In one instance, a festival in Singapore provided all guest VJs with a “content info pack” one month out, including stage screen schematics and playback specs. The result was zero content issues on show days – a stark contrast to a prior year when last-minute format problems caused delays. Early coordination is an insurer of quality and shows professionalism that artists remember.
Designing Nighttime Looks for Safety
When festival daytime turns to night, lighting design isn’t just about eye-candy – it takes on a crucial safety role. Amidst the creative programming of moving lights, strobes, and color changes, an event producer must ensure that exit visibility and safety beacons remain clear. The audience needs to enjoy the spectacle and navigate the venue safely, especially in emergencies or at closing time.
To achieve this, it’s wise to build dedicated “night looks” into your lighting programming. These are overall illumination states or cues that maintain a baseline of visibility across the venue:
- Illuminated Exit Signs: Never compromise on exit sign visibility. If your stage design involves LED backdrops or bright screens, verify that they don’t wash out or overshadow the illuminated EXIT signs or directional arrows around the area. In fact, most safety codes worldwide mandate that exit signs remain continuously illuminated and unobstructed at all times, a requirement outlined in guides on emergency exit sign regulations. In an outdoor festival, this could mean using extra standalone LED exit sign units or towers with green beacons pointing to exits.
- Safety Lighting “Beacons”: Identify critical points like first aid tents, information centers, or gathering points and ensure they have a light source that stands out at night. This could be a distinct color LED beacon or a lighting balloon that stays on throughout the event. These should be integrated into the festival’s look – for instance, an art installation tower that glows in a consistent color, doubling as a beacon visible from afar.
- Low-Light Navigation Aids: Plan for gentle ambient lighting in audience areas when main stage lights go dark between acts. For example, after a band finishes at 11 PM and the stage goes black for teardown, turn on some house lights or LED parcans aimed at the audience (even low dim white or blue) to let people move safely. This “intermission look” can be designed to fit the mood (soft blue or gold hues can keep a chill vibe) but still allow people to see the ground and each other.
Crucially, rehearse these safety looks with your lighting team. A common practice is to have a pre-programmed end-of-night cue that floods certain areas with light at show end. This can be triggered immediately after the last song or during announcements. For instance, a festival in New Zealand found that by programming a bright amber wash over the crowd and food court at the night’s end, they significantly reduced trip-and-fall incidents during exit – without killing the mood, since the color was warm and the transition was gradual. Attendees subconsciously appreciate being able to find their way, and it signals that the event organizers are looking out for them.
Fundamentally, safety lighting does not have to ruin the festival aesthetic. It’s about blending practical illumination with creative design. Train your lighting operators that whenever they engage intense effects like strobes or blackouts, they should be mindful of not disorienting the crowd too much. Quick tip: use hazers/fog wisely at night – while haze makes lights look amazing, excessive fog in dark areas can reduce visibility of exits or pathways. Striking a balance is part of the craft.
Need Festival Funding?
Get the capital you need to book headliners, secure venues, and scale your festival production.
Eye-Safe Lasers and Compliance Made Easy
Nothing elevates a stage like a well-timed laser show cutting through the night sky. However, with great beams comes great responsibility: laser safety compliance is paramount. High-powered show lasers can pose serious eye risks if misused, and regulatory bodies in many countries keep a close watch on this. As the festival producer, you want to bundle all laser compliance info into a single pack ready for inspectors, so you can prove due diligence in one go.
Firstly, always hire certified laser operators or companies. Reputable laser show providers will be well-versed in local laws and safety standards. For instance, in the United States, any laser effect that audiences can see usually requires a special variance from the FDA (Food and Drug Administration) because powerful entertainment lasers are tightly regulated, as noted in comprehensive laser safety guidelines. In the UK and much of Europe, regulations might require notifications or permits for audience-scanning effects, although some regions have eased rules due to the industry’s good safety record, even though laser safety laws vary by country. Regardless of location, insist that your laser vendor provides all relevant documentation.
What should your laser safety compliance pack contain? At minimum:
- Inventory of Lasers: A list of all laser projectors in use, including power (in watts or class rating) and model details. This shows inspectors you know exactly what is on site.
- Diagram of Installation: A drawing or schematic showing where lasers are mounted, their coverage zones, and the safe audience distances or exclusion zones. Indicate any beam stops or barriers if used.
- Operational Procedures: A brief on how the lasers will be used safely – e.g. whether they will scan the audience or strictly shoot overhead. If audience scanning is involved, detail the precautions (like reduced power output, exposure time limits, etc.) that keep it eye-safe. Many countries have an exposure limit known as the MPE (Maximum Permissible Exposure) for lasers hitting viewers; your laser operator should calculate and confirm that your show stays below these levels.
- Certification and Training: Include copies of any operator certifications (for example, Laser Safety Officer credentials or proof of ILDA – International Laser Display Association – training). If the vendor has a general variance or license, include a copy.
- Regulatory Correspondence: If you obtained a permit or notified authorities (such as aviation authorities if beams point upward near flight paths), include those letters/emails as evidence of compliance measures.
By assembling this pack neatly in one folder (physical or digital), you can hand it to a fire marshal, safety inspector, or licensing officer at a moment’s notice. It demonstrates professionalism and often satisfies questions before they’re even asked. In practice, this can prevent your show from being halted. For example, a festival in Mexico once had authorities show up unannounced to check on laser usage. Because the production team had all laser safety paperwork ready – specifications and written confirmation that the beams would stay above the crowd’s heads – the inspection was a breeze and the show went on without a hitch.
Eyes-Safe Operation: Beyond paperwork, coordinate with your laser operators on safe programming. Test the lasers during rehearsal or down times to ensure alignment is correct and no unintended low beams occur. Modern laser control software often has safety zones and emergency cut-offs – make sure those are engaged. Always have a safety briefing with the laser crew so everyone knows who has the “kill switch” in case someone breaches a secure area or a unit misaligns. Incorporating these safety habits protects both the audience and the festival from liability.
Balancing Creativity with Consistency
A festival thrives on creativity – each stage can have its own theme or vibe. Achieving visual parity doesn’t mean making all stages look identical; it means curating a consistent quality level while allowing unique designs. The art is in avoiding a scenario where one stage’s production completely dwarfs another to the point of guest dissatisfaction. Instead, you encourage creative diversity within set boundaries.
One smart strategy is holding a production design summit (even informally) with all your lighting designers and visual teams for each stage. If you’re bringing in different designers for different stages (common when stages are genre-themed or hosted by partner brands), get them talking early on. Share the festival-wide vision and any guidelines (for example, “All stages should incorporate our festival colors or logo subtly” or “We want a wow-factor on each stage even if smaller scale”). This is a friendly way to prevent a one-upping mentality; it frames it as collaboration rather than competition.
Also, coordinate schedules for special moments. If your main stage has a massive pyro and laser cue at 10pm, maybe don’t schedule the second stage DJ’s big moment at the exact same time, or vice versa, to let each shine. Or if it will overlap, ensure both stages have something spectacular so one isn’t completely overshadowed. Radios and communication between stage managers can help synchronize these peak moments.
Failure to Learn From: Consider a cautionary tale – a festival in Eastern Europe where the production on the secondary stage was so sparse (no LED screens, minimal lighting) that when the main stage wasn’t running, much of the crowd simply wandered off to other areas rather than engage with the secondary stage act. The organizers realized too late that they had essentially funneled all excitement to one spot. The next year they corrected this by investing in a decorative LED backdrop and more lighting for that stage, lifting its profile significantly. Attendees spread out more evenly as a result, easing crowd congestion at the main stage and giving artists on other stages a better audience.
Success to Emulate: On the other hand, a well-known event like Glastonbury Festival (UK) ensures even smaller stages like the John Peel Stage have vibrant lighting and art installations. Audience members often recall stumbling onto an unknown artist at a smaller Glastonbury stage and being mesmerized not just by the music but by the atmosphere created there. That’s the payoff of visual parity – every corner of the festival can deliver surprise and delight.
Frequently Asked Questions
How can festival organizers maintain visual quality across multiple stages?
Festival organizers maintain visual quality by establishing tiered production standards for every stage size. For example, a “Tier 2” spec might mandate a minimum 4m x 2m LED wall and 20 moving lights. This baseline ensures smaller stages offer a professional show experience, preventing an “arms race” between crews while improving overall crowd distribution.
What technical specifications should be provided to festival VJs in advance?
Producers must provide VJs with a detailed content brief weeks before the show, including screen dimensions, resolutions, and specific codec requirements like HAP or DXV. The brief should also specify frame rates, color profiles, and delivery deadlines to ensure compatibility with media servers and avoid last-minute file conversion issues during the event.
How can lighting design improve safety during nighttime festival events?
Lighting design improves safety by integrating dedicated “night looks” that maintain visibility for exits and pathways without ruining the atmosphere. Strategies include keeping exit signs illuminated, using distinct LED beacons for first aid points, and programming ambient cues—such as a warm amber wash—to help audiences navigate safely between acts or at closing time.
What should be included in a festival laser safety compliance pack?
A comprehensive laser safety compliance pack includes a full inventory of laser equipment, installation diagrams showing coverage zones, and detailed operational procedures. It must also contain operator certifications, proof of training, and copies of relevant regulatory permits or variances. This documentation proves due diligence to safety inspectors and ensures the show proceeds without legal interruptions.
Why is lighting and visual parity important for multi-stage festivals?
Visual parity ensures a cohesive brand experience where no stage feels neglected or “low priority.” By guaranteeing a baseline production quality across all tiers, festivals encourage better crowd distribution, as attendees are willing to explore smaller stages. This approach also boosts artist satisfaction and prevents the main stage from completely overshadowing other performance areas.
How does early coordination with visual teams prevent technical issues?
Early coordination allows visual teams to tailor content to specific hardware limitations, such as avoiding color banding on specific LED panels. By organizing pre-festival content rehearsals or tech checks, producers can verify file compatibility and routing. This proactive approach eliminates on-site surprises, such as format mismatches, ensuring smooth set changes and high-quality visual performance.


